It's not unusual to get a box (or 8) of books on a Friday afternoon, but not have an invoice available for download from the distributor. You want to get those books into the hands of your subscribed customers, and on the shelves. Here's how to do that, using MC2. (Mind that you will need to remember these items in two to three weeks, when a certain gem stone finally gets around to tacking it onto an invoice).
This brief (just over 3 minutes 30 seconds) video will show you how to intake a mid-week shipment.
Open the MC2 app, Choose Check In on the left. The page should be directing you to upload your invoices. Which you don't have. Which is why you are here. Click the Next button on the right.
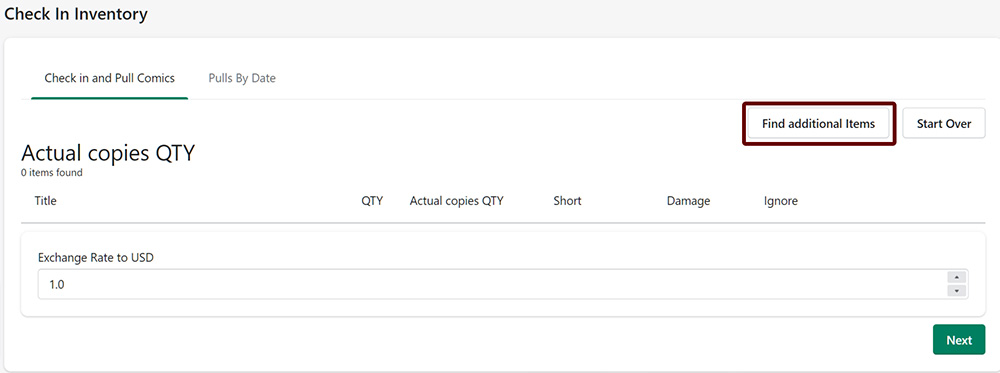
If there is anything hanging out here, (Invoice, other books, etc.) you will want to start fresh. You will have to click on the button that says Start Over.
Now we will start adding the items from the shipment into MC2. Click on Find Additional Items.
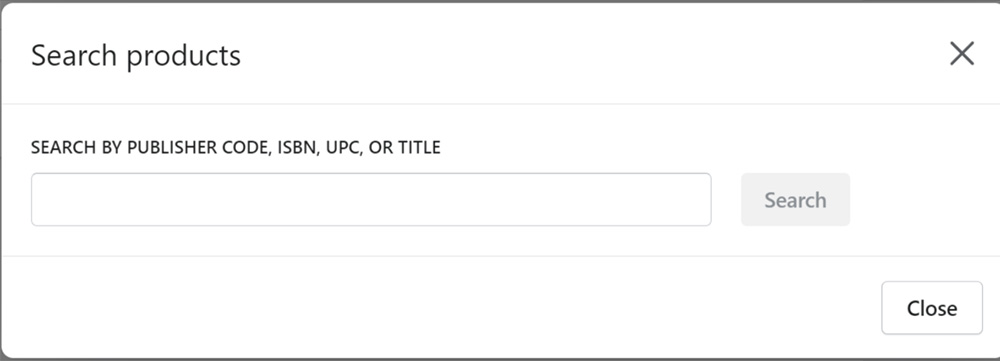
Begin adding the items from the shipment into MC2.
There are two ways to go about this. Typing out the name, or scanning in the barcode.
Personally, I prefer scanning in the barcodes. Not only is it faster, it makes sure the bar code information is correct. This is going to be more of an issue with these mid-week shipments much more than your typical FOC shipments, because these items may have first been solicited years ago. Our Geek Fetch database is quite robust, and getting better every day, but there are a few holes, here and there. Whichever method you choose, if nothing comes up, take a few numbers off of the right on the barcode, or try a few less words in the item title.
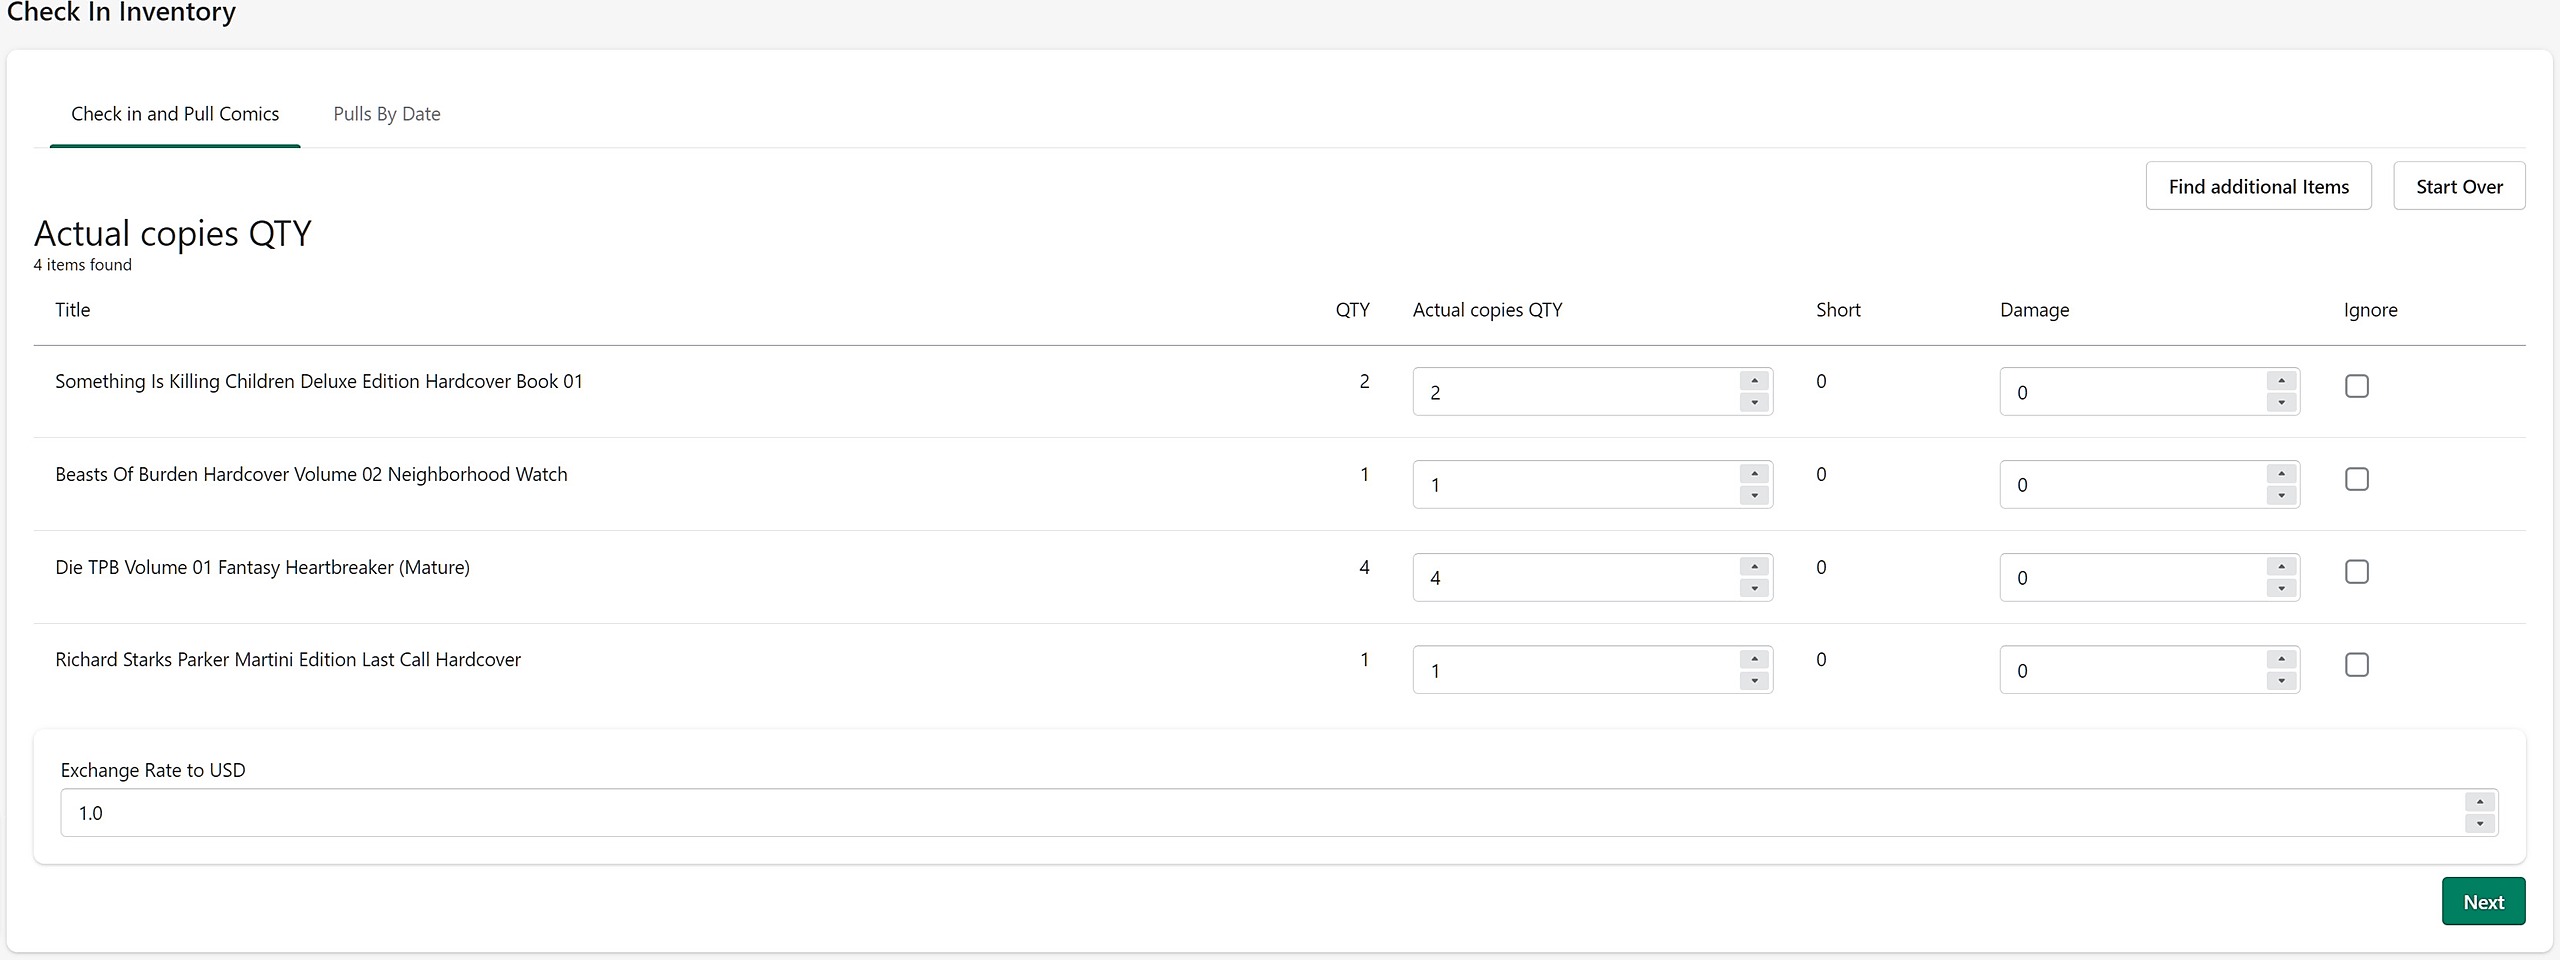
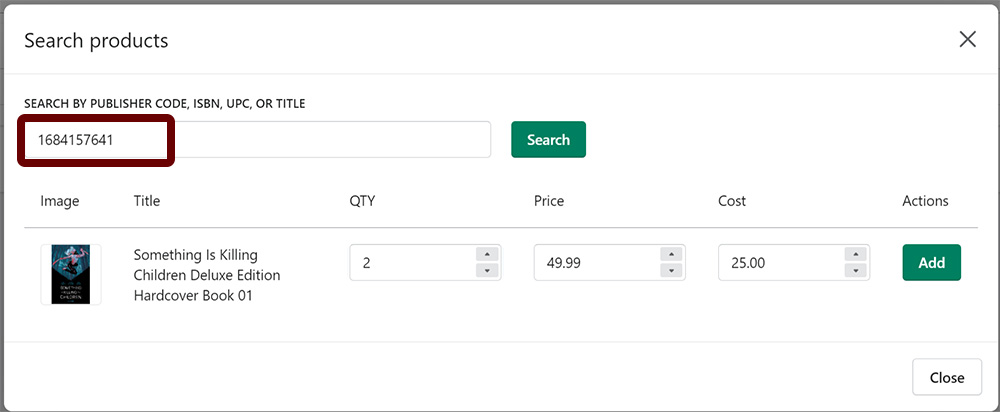
Enter in the item name or barcode, hit Search. Find your item in the results, adjust your quantity, hit Add, and scan or type the next item into the search bar.
No need to hit close until you have everything entered.
You can now adjust for any damaged items. Otherwise, hit Next.
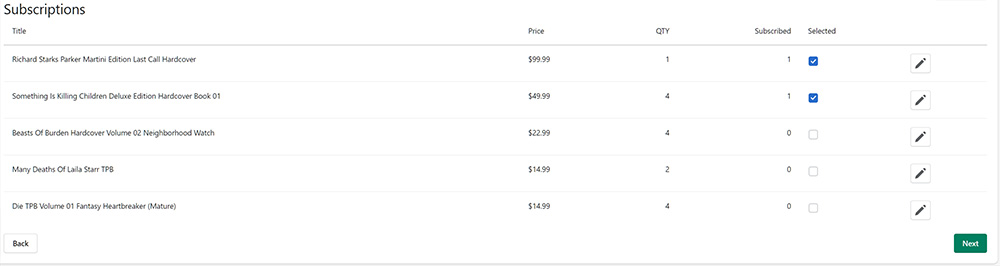
The subscribed column should populate for any items that have an active sub or pre-order for. Check the box next to each item, if you want to pull it for the customer.
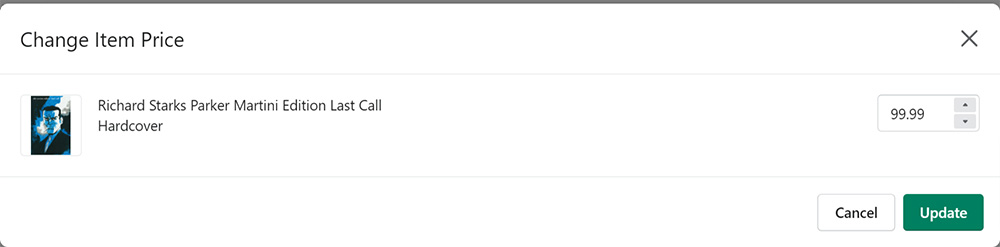
Also, if you wish to alter the price of any of the items on the list, hit the pen icon.
Click Next when finished.
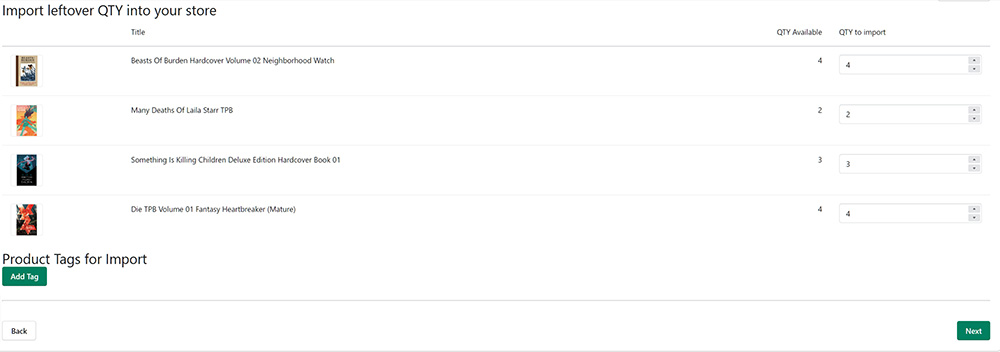
On this screen, you can adjust how many you want to add to the store. You can also add any tags. When finished, hit Next.
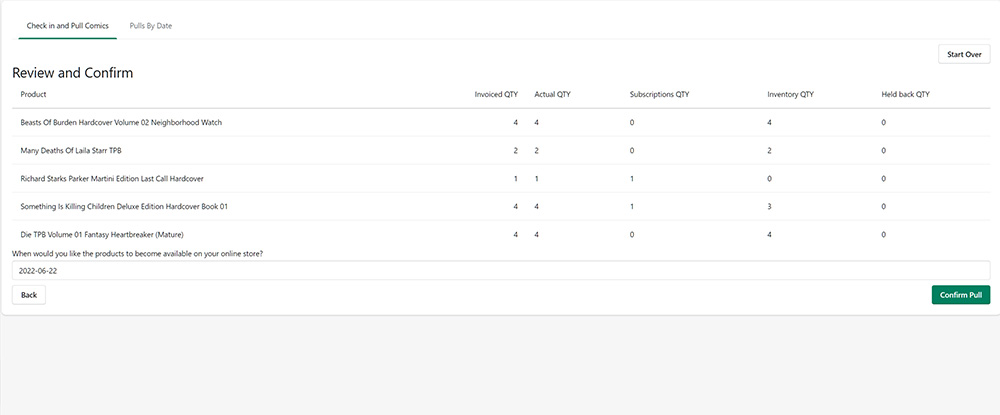
Confirm that everything is correct, then Confirm Pull, if there are any. Otherwise you should have a Next button.

If you DID have a pull, you will see your pull summary listed, displaying the customers and their items. At this point, I usually Ctrl-P to print the screen for posterity.
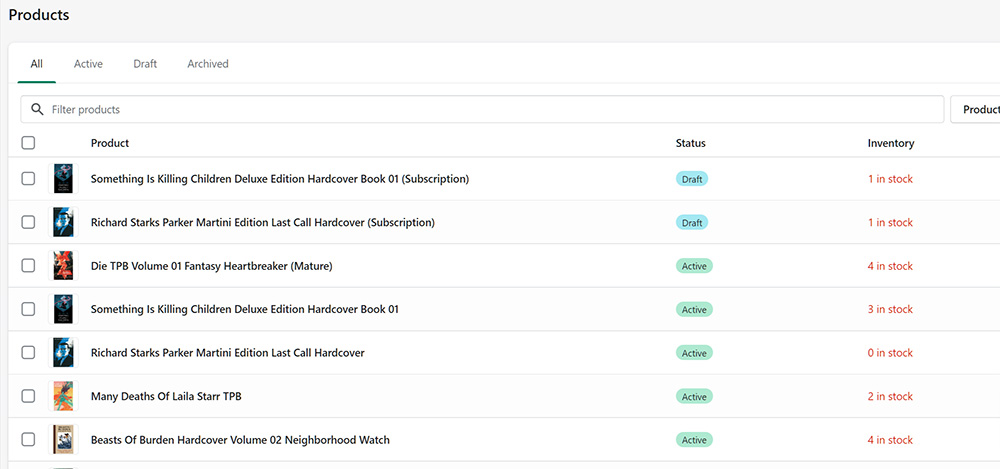
I like to go back to the Shopify Products page, click on Sort, and choose Updated (newest first)
This next step is extra, but I always found it to be worthwhile.
I would, at this point, scan the barcode of each unique item into the search bar, one at a time, and search. To verify that the system is catching the barcodes for everything correctly. Again, more of an issue with mid-week shipments, because new printings sometimes have updated bar codes.
And there you have it! Everything is in the system, and ready to go. Any subscription or pre-order items placed through MC2 should be assigned to their customers, so you can invoice them, or however you work it.
Note: It should go without saying, but if you place special orders using any other methods, such as a spreadsheet, now would be the time to check those guys manually.
Don't forget to take a look at our other workflows!