When product comes into the store, you can easily and efficiently import new copies and allocate your standing orders to your "Pulled" subscribers.
This in-depth video (just under 10 minutes) will walk you through everything from checking in a single item, through doing your weekly check ins with invoices.
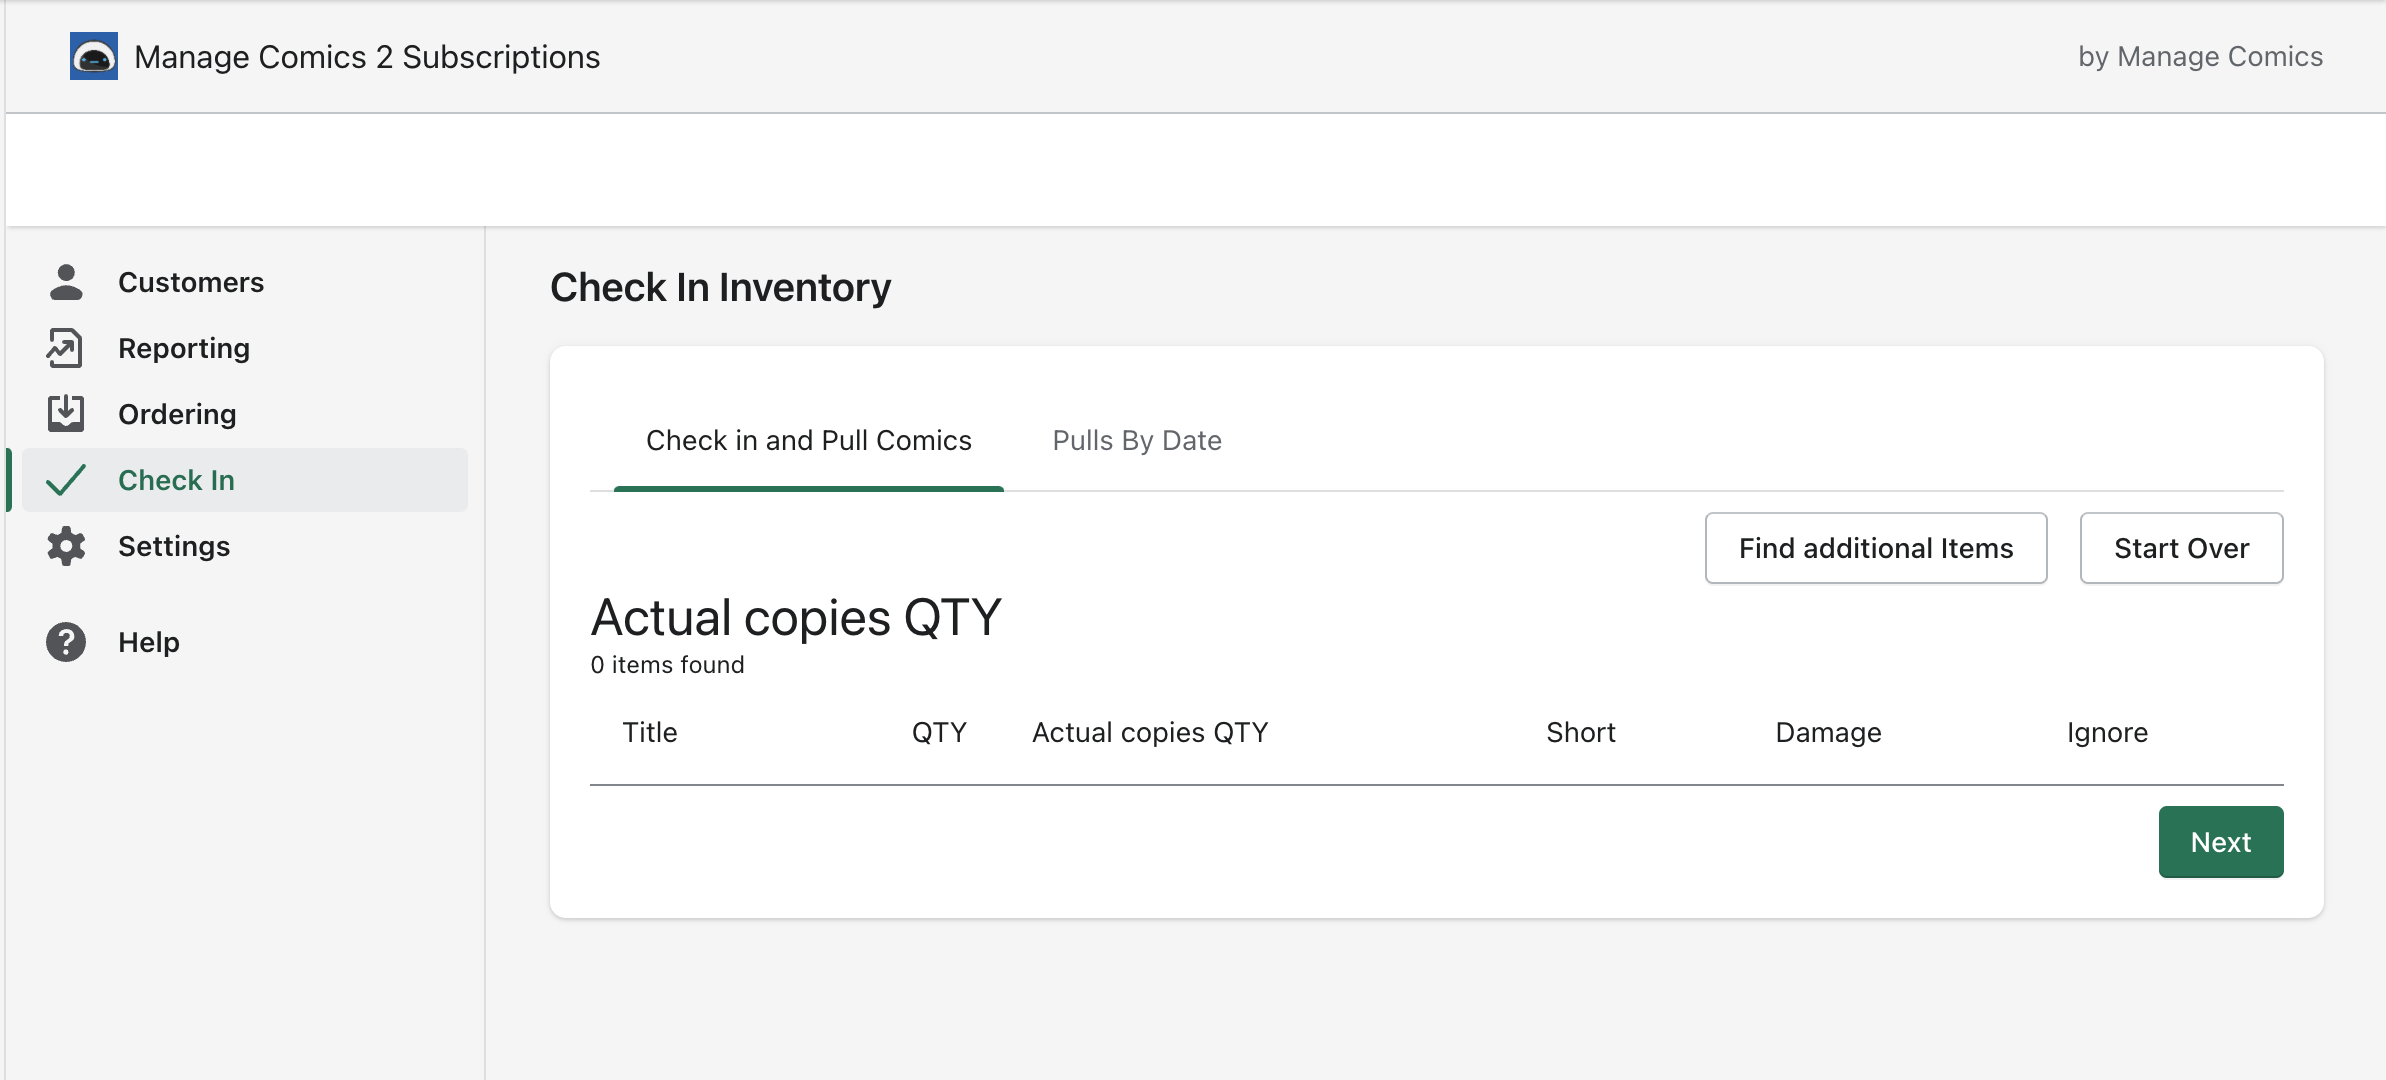
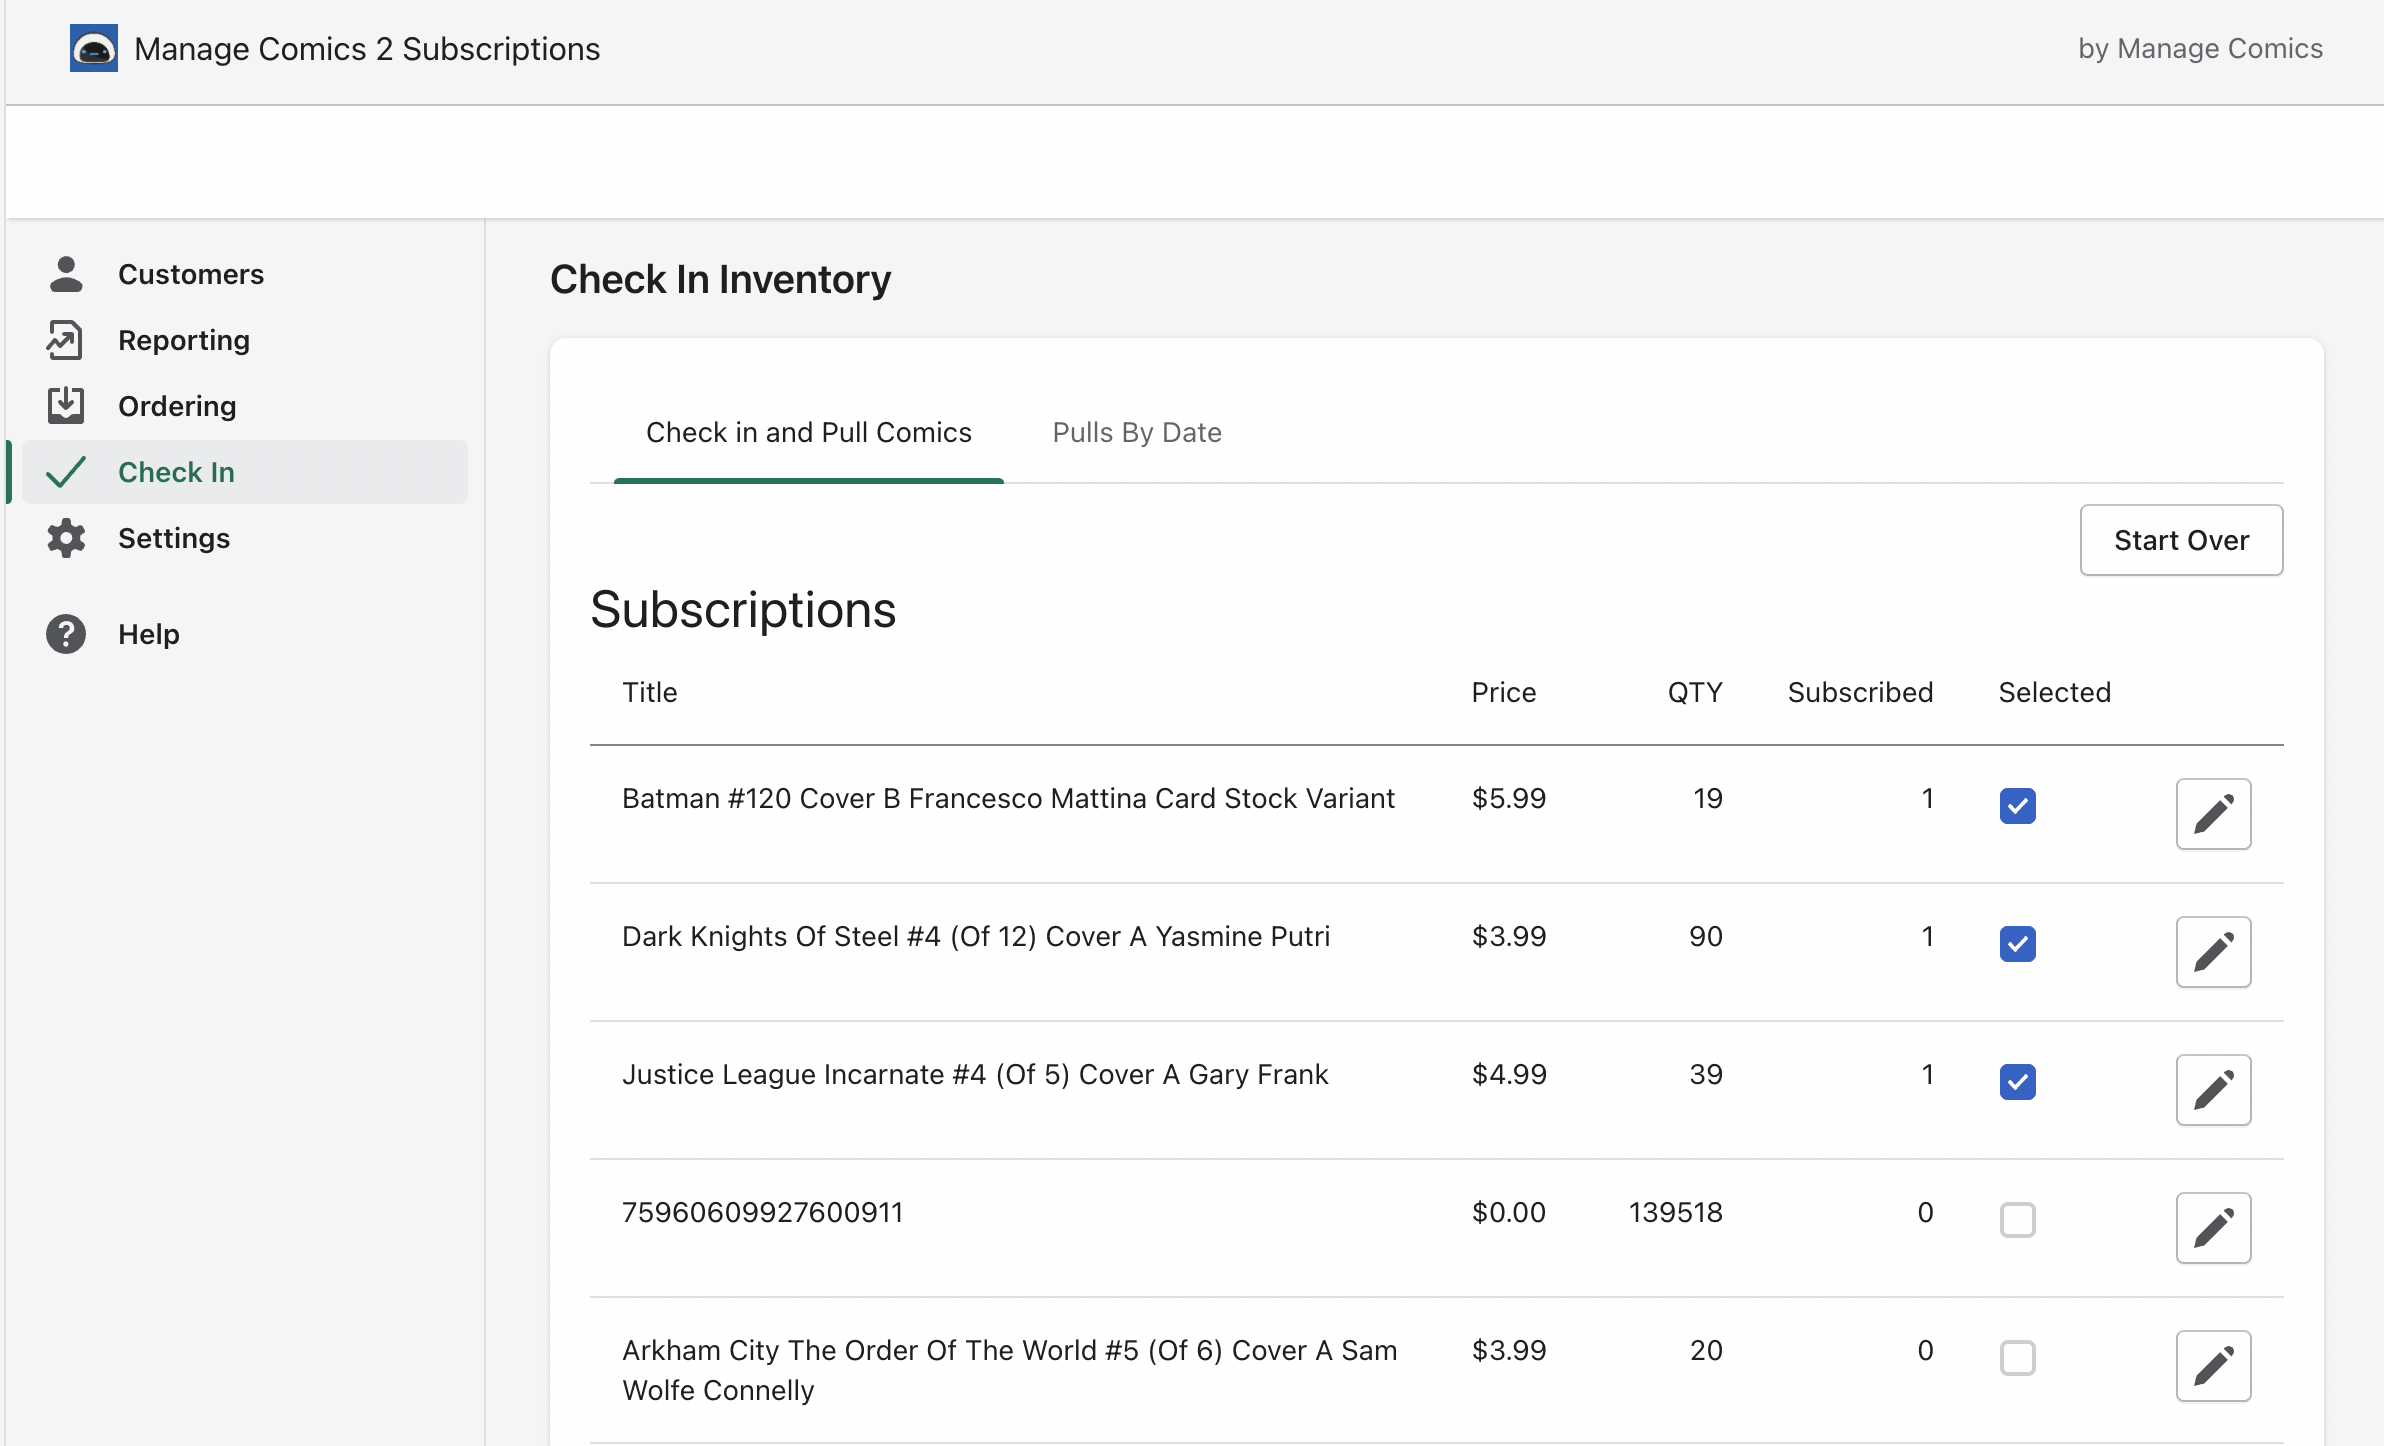
Under Check In > Check In Inventory, click "Start Over" to upload invoices.
If you are just importing a few items without an invoice, click "Find Additional Items"
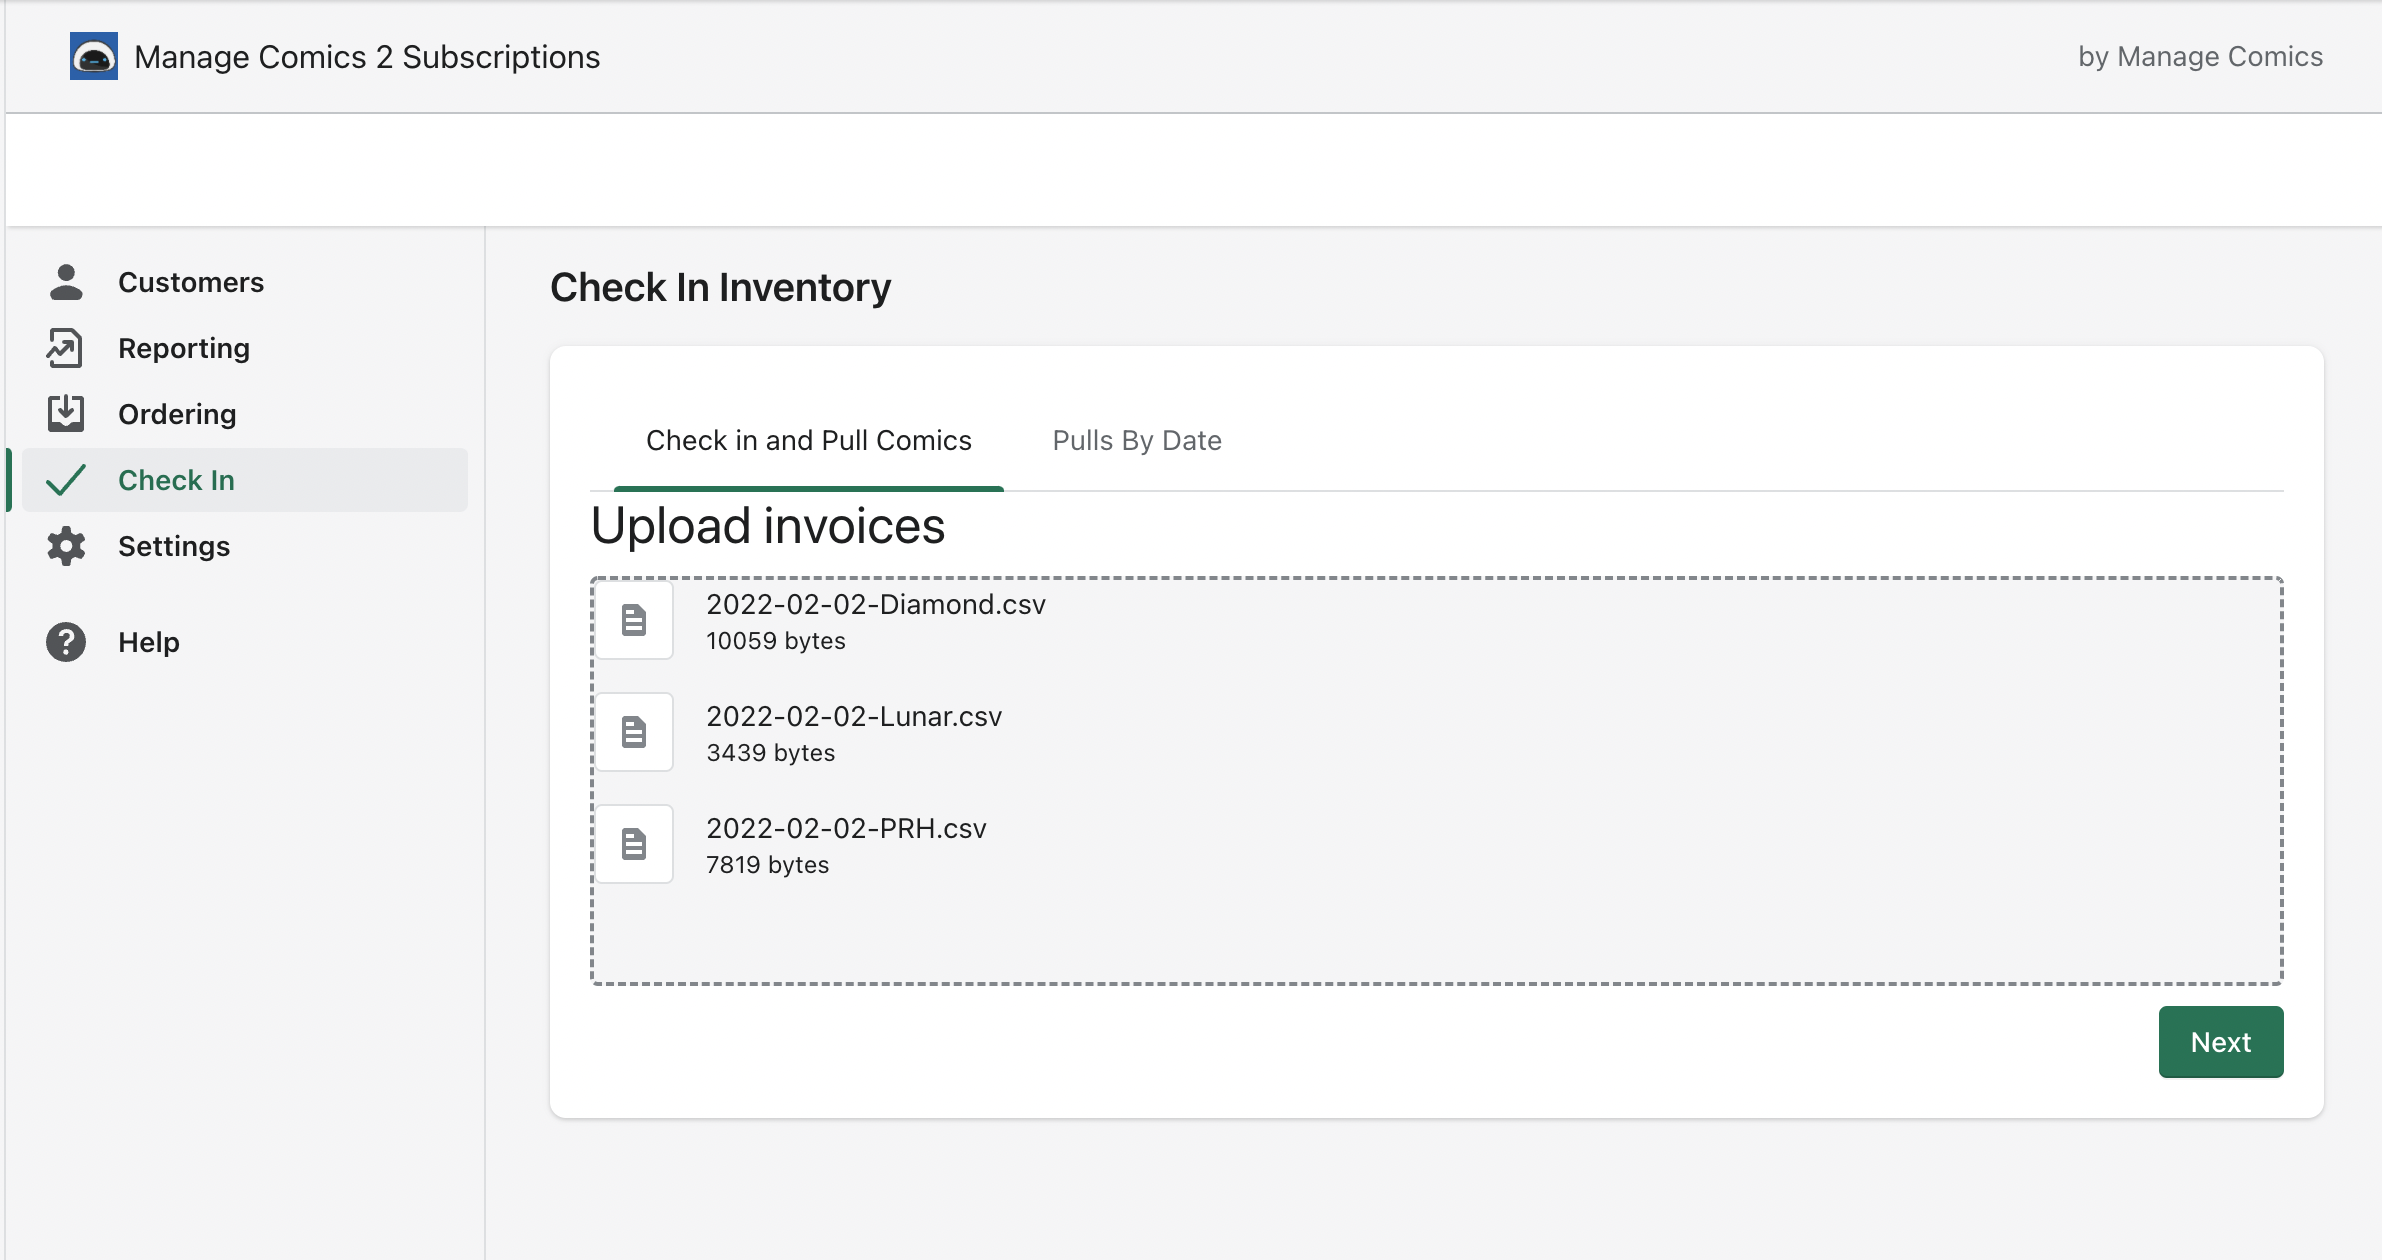
Step 1 - Upload Invoices
Upload your invoices as .csv files by just dragging and dropping them into this rectangle.
Manage Comics will figure out what type of invoices they are. (See - "Where do I get invoices for importing?" under related articles below).
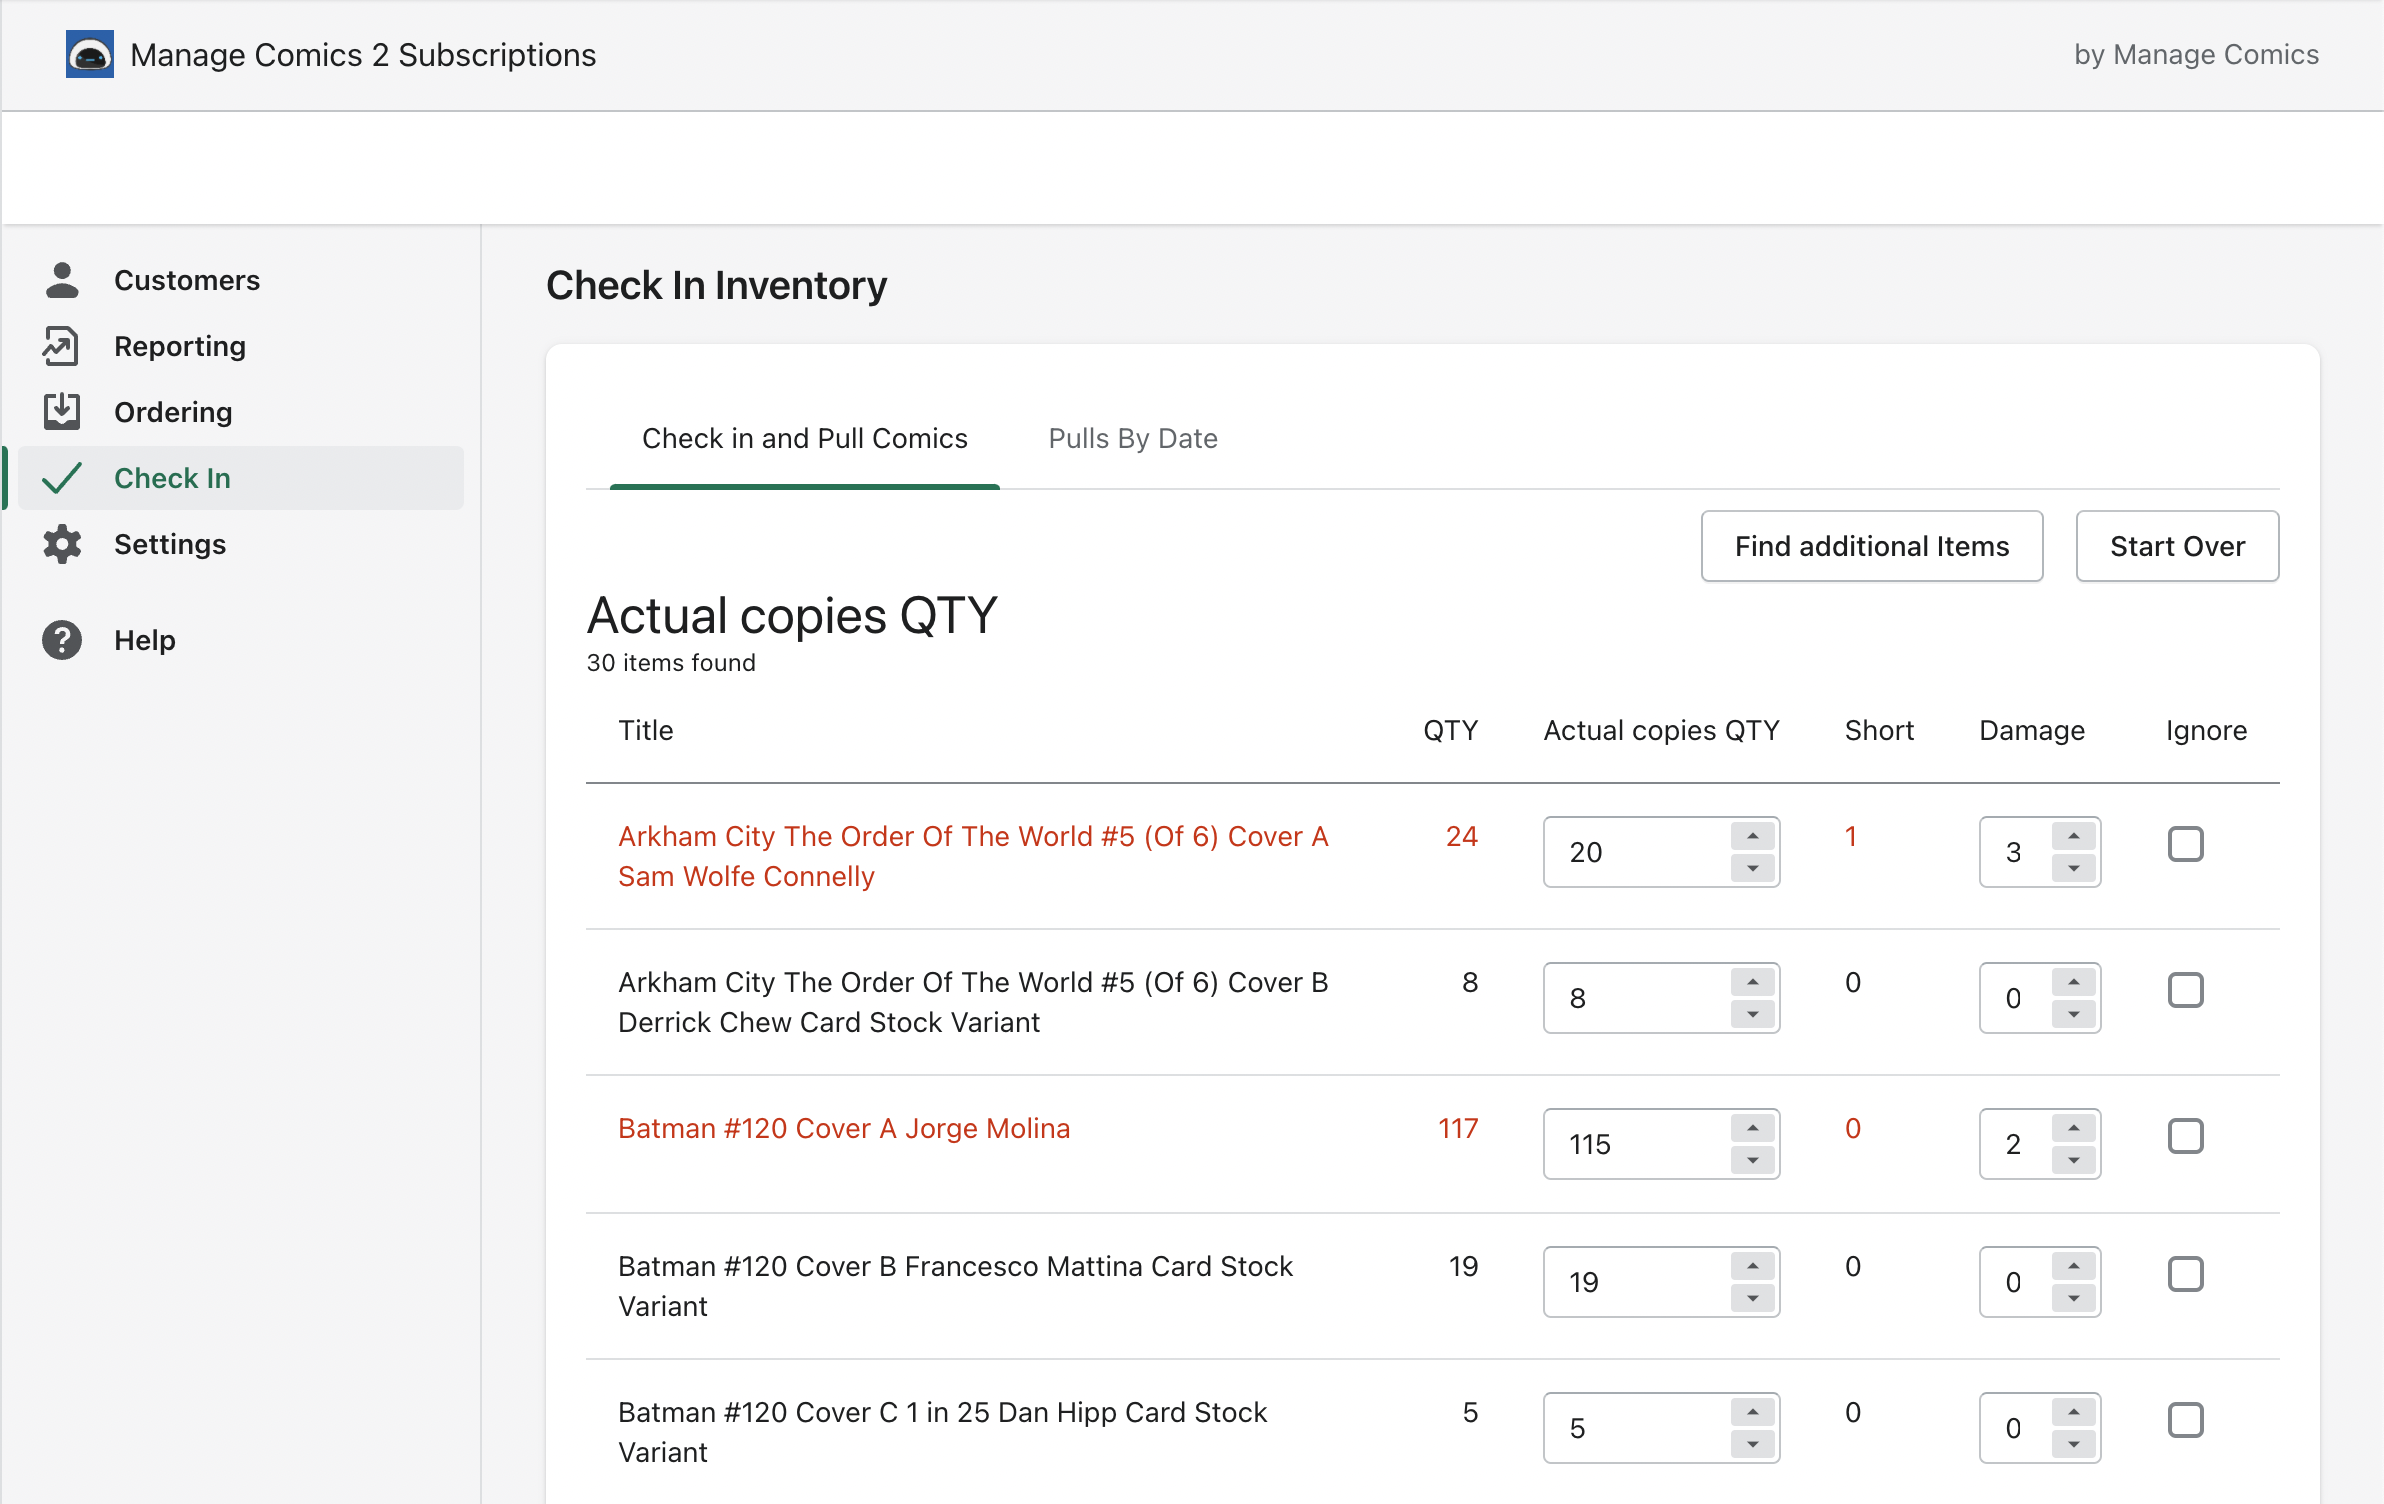
Step 2: Check-In Copies
Confirm quantities
Do a physical count of your books to make sure you have the right amounts.
Enter the actual copies received - we calculate the shortages. If any of the shortages are actually damaged, report the number of damaged items (the shortages will be QTY - damaged copies).
Ignore items that you do not want to include in this process (for example, items you checked in previously without an invoice).
We’ll give you a shortages report at the end of the pulls process.
This also lets us keep track of who is missing pulls when we’re done.
Step 2a: Exchange Rate (Canadian Customers Only)
For customers not in the USA, you can enter an exchange rate, which will then determine the price of the comics for you, and update both your pulls, and the store stock with the correct price.

Step 3: Confirm Items
Confirm your pulls
This step allows you to skip any pulls that you don’t need to do.
This is helpful if you get a restock on something that we didn’t originally catch.
Step 3a: Change any prices that need to be adjusted
You can edit the price of any items you are importing into the system. This will adjust the price they are pulled at, and the price that will appear in your Shopify store.

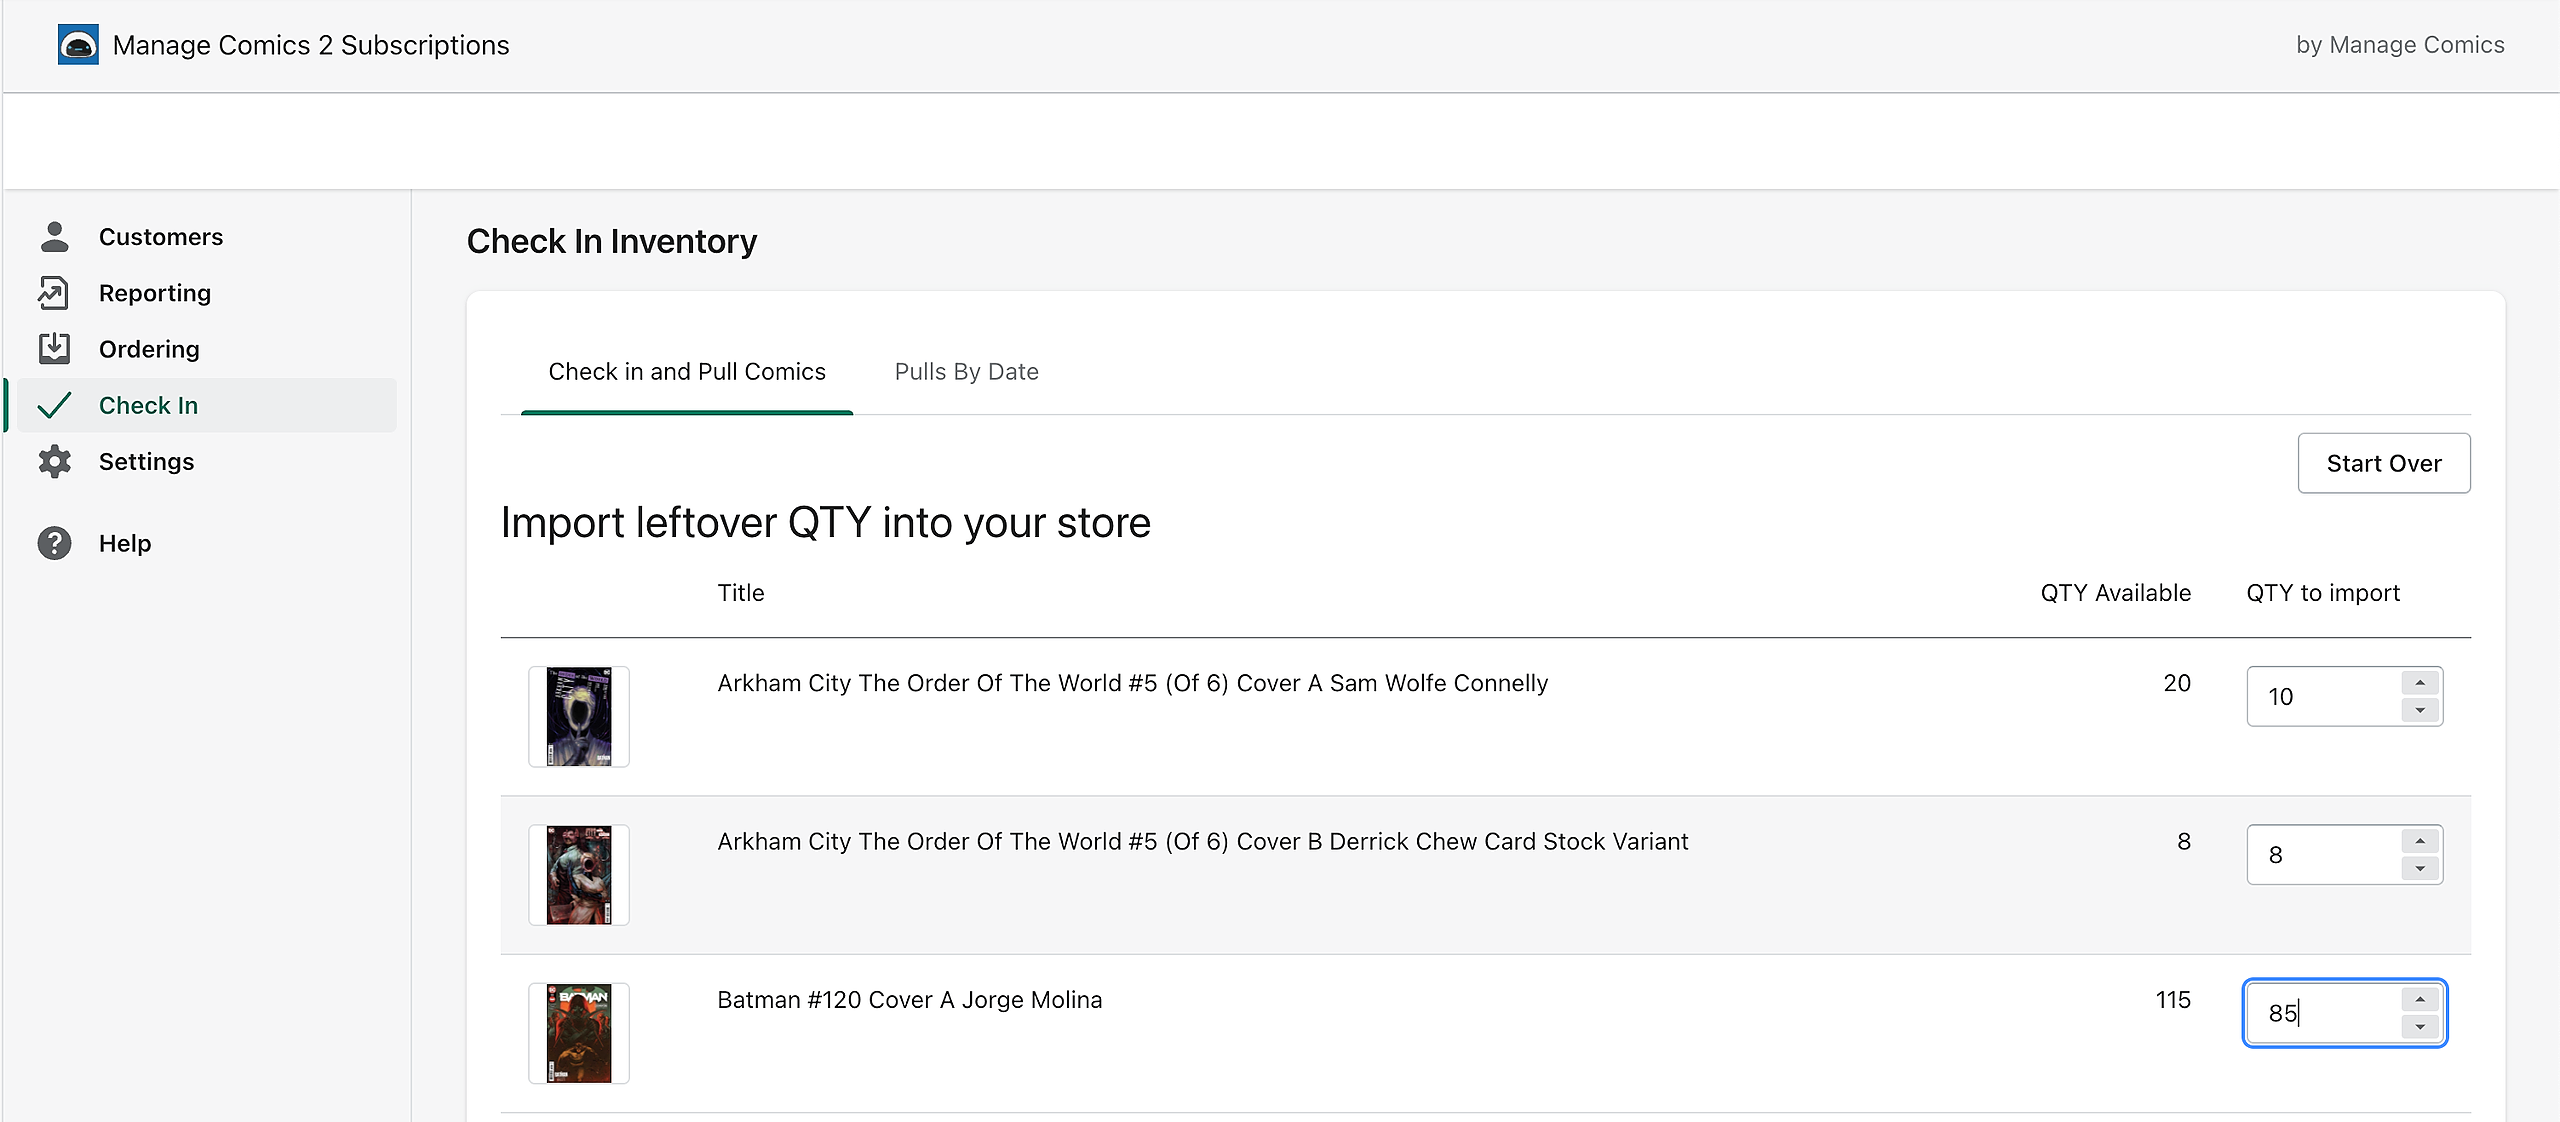
Step 4: QTY to Import to Shopify
Control how many copies are Online
You can choose to only make a small amount of product available for the online store.
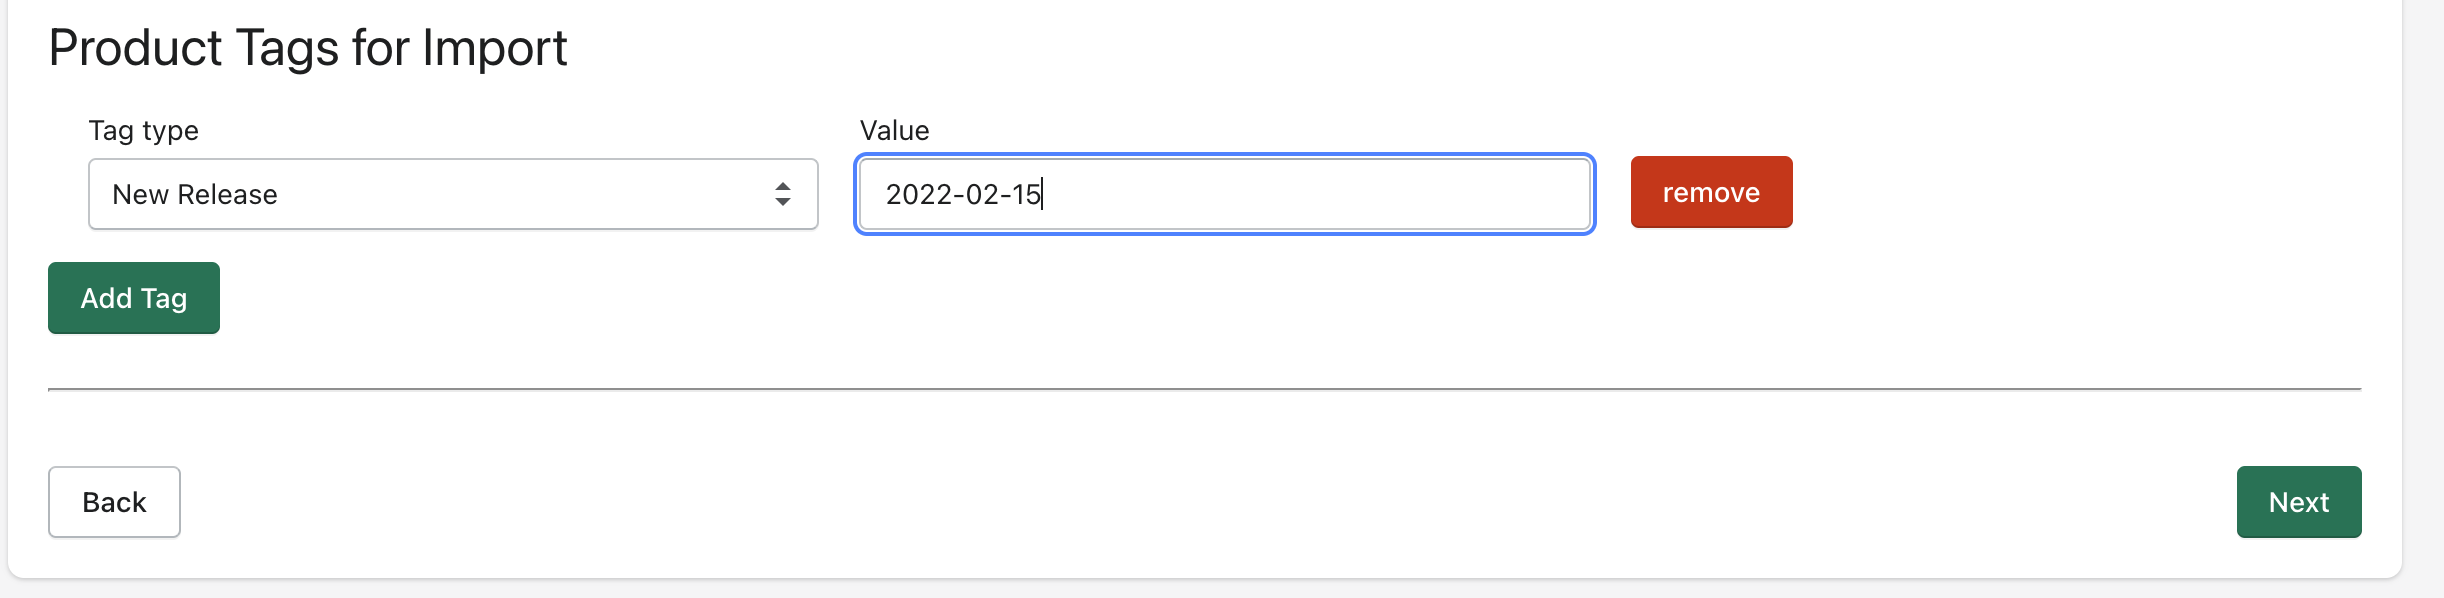
Step 4a: Set Tags
You can add extra tags (such as a new releases tag, or another custom tag).
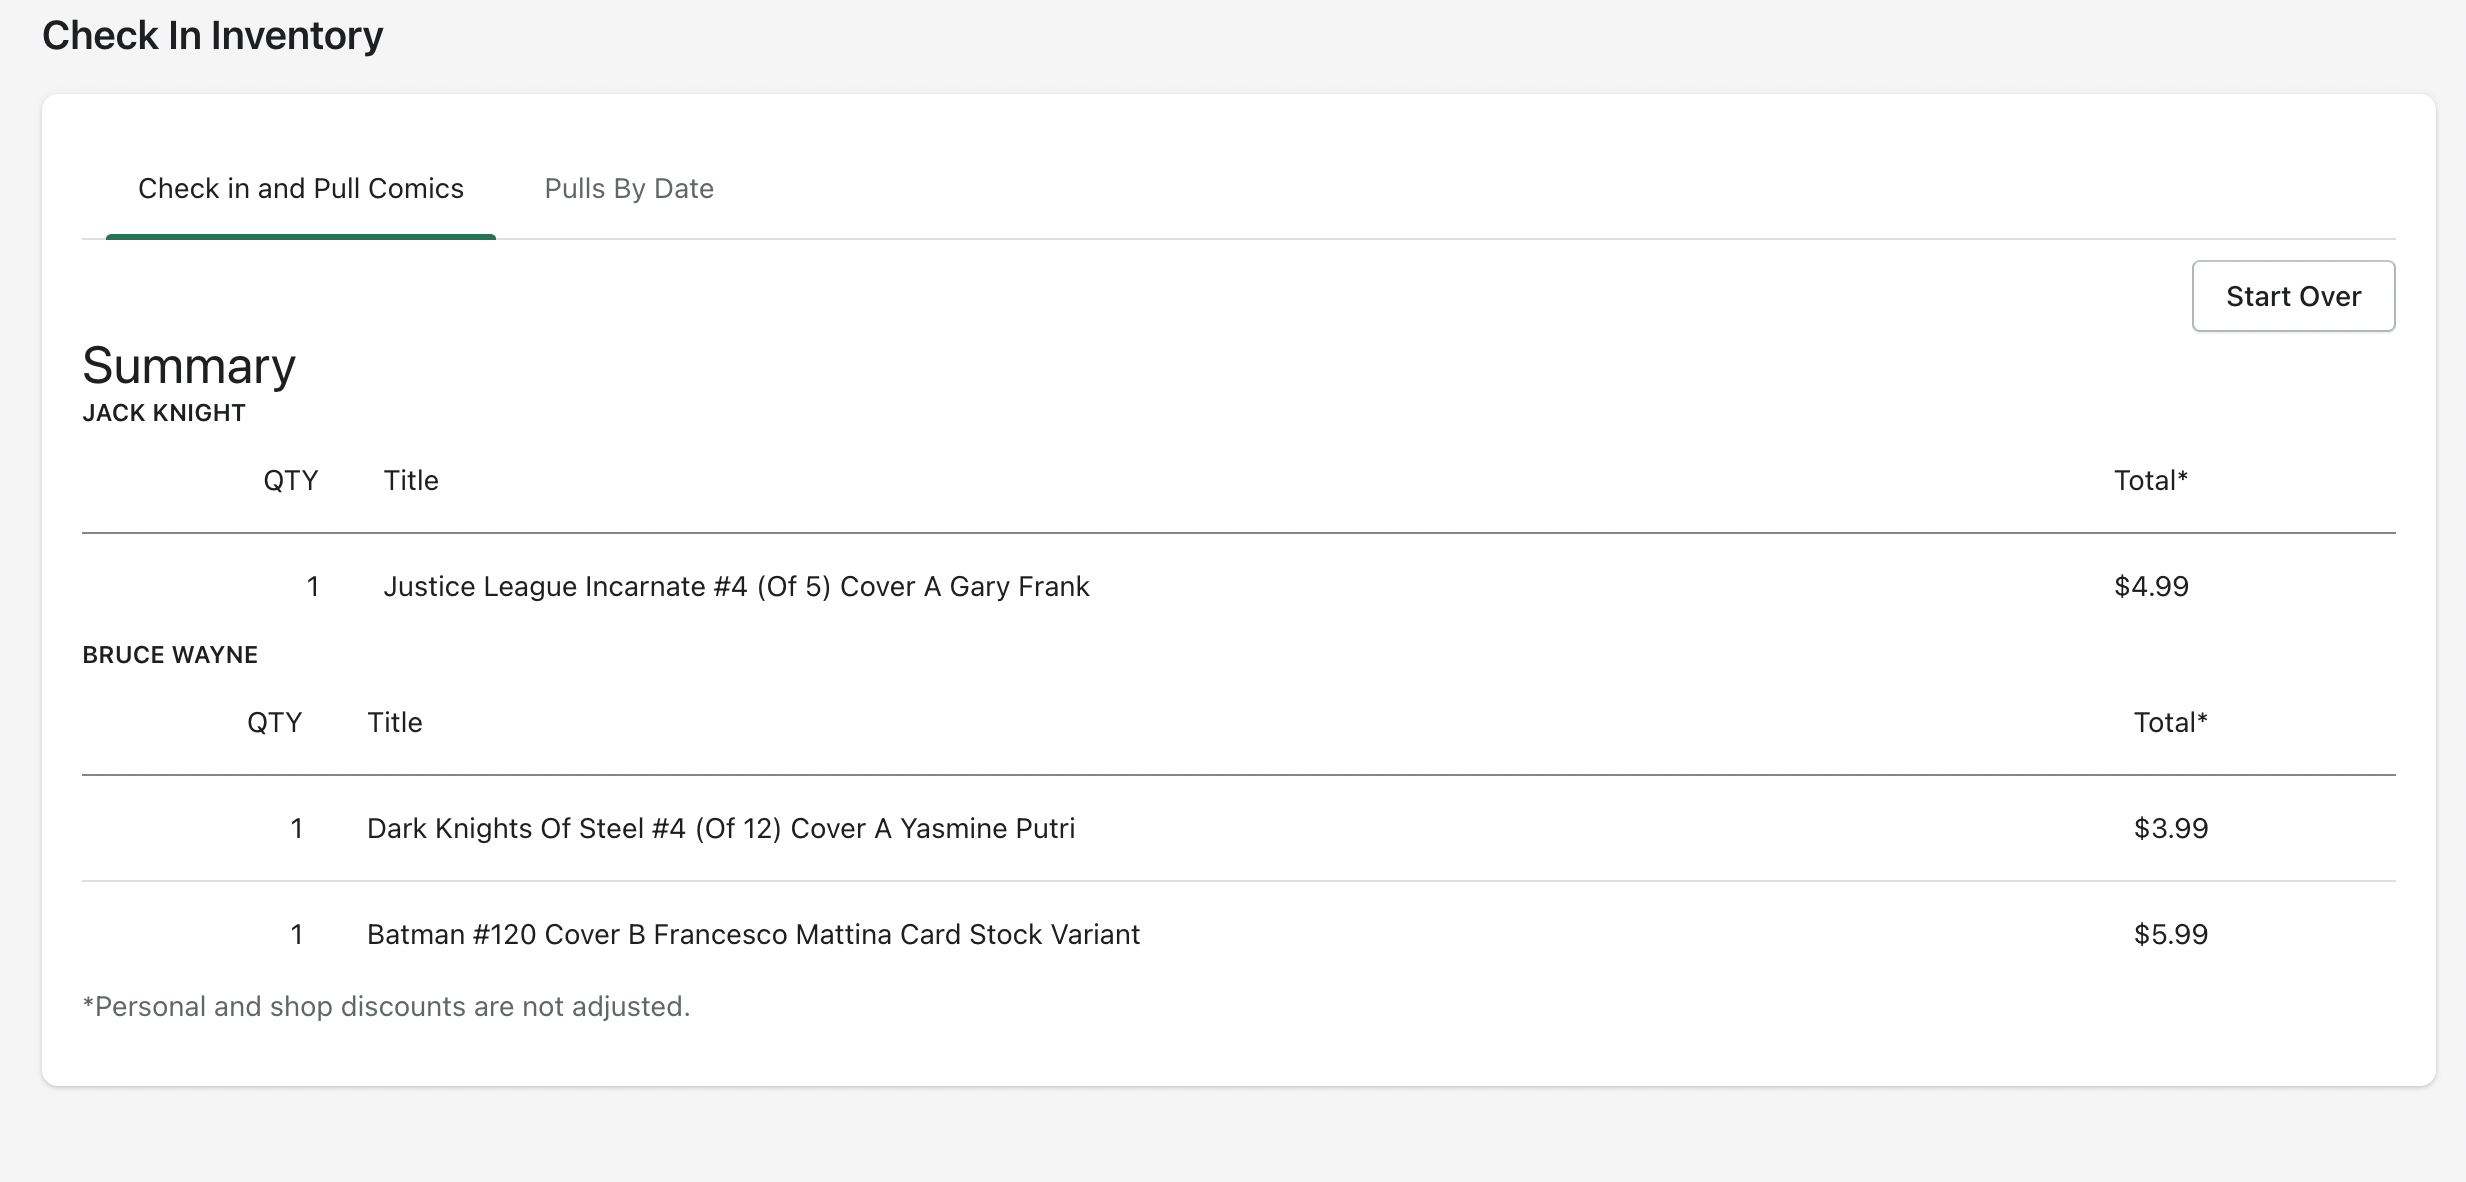
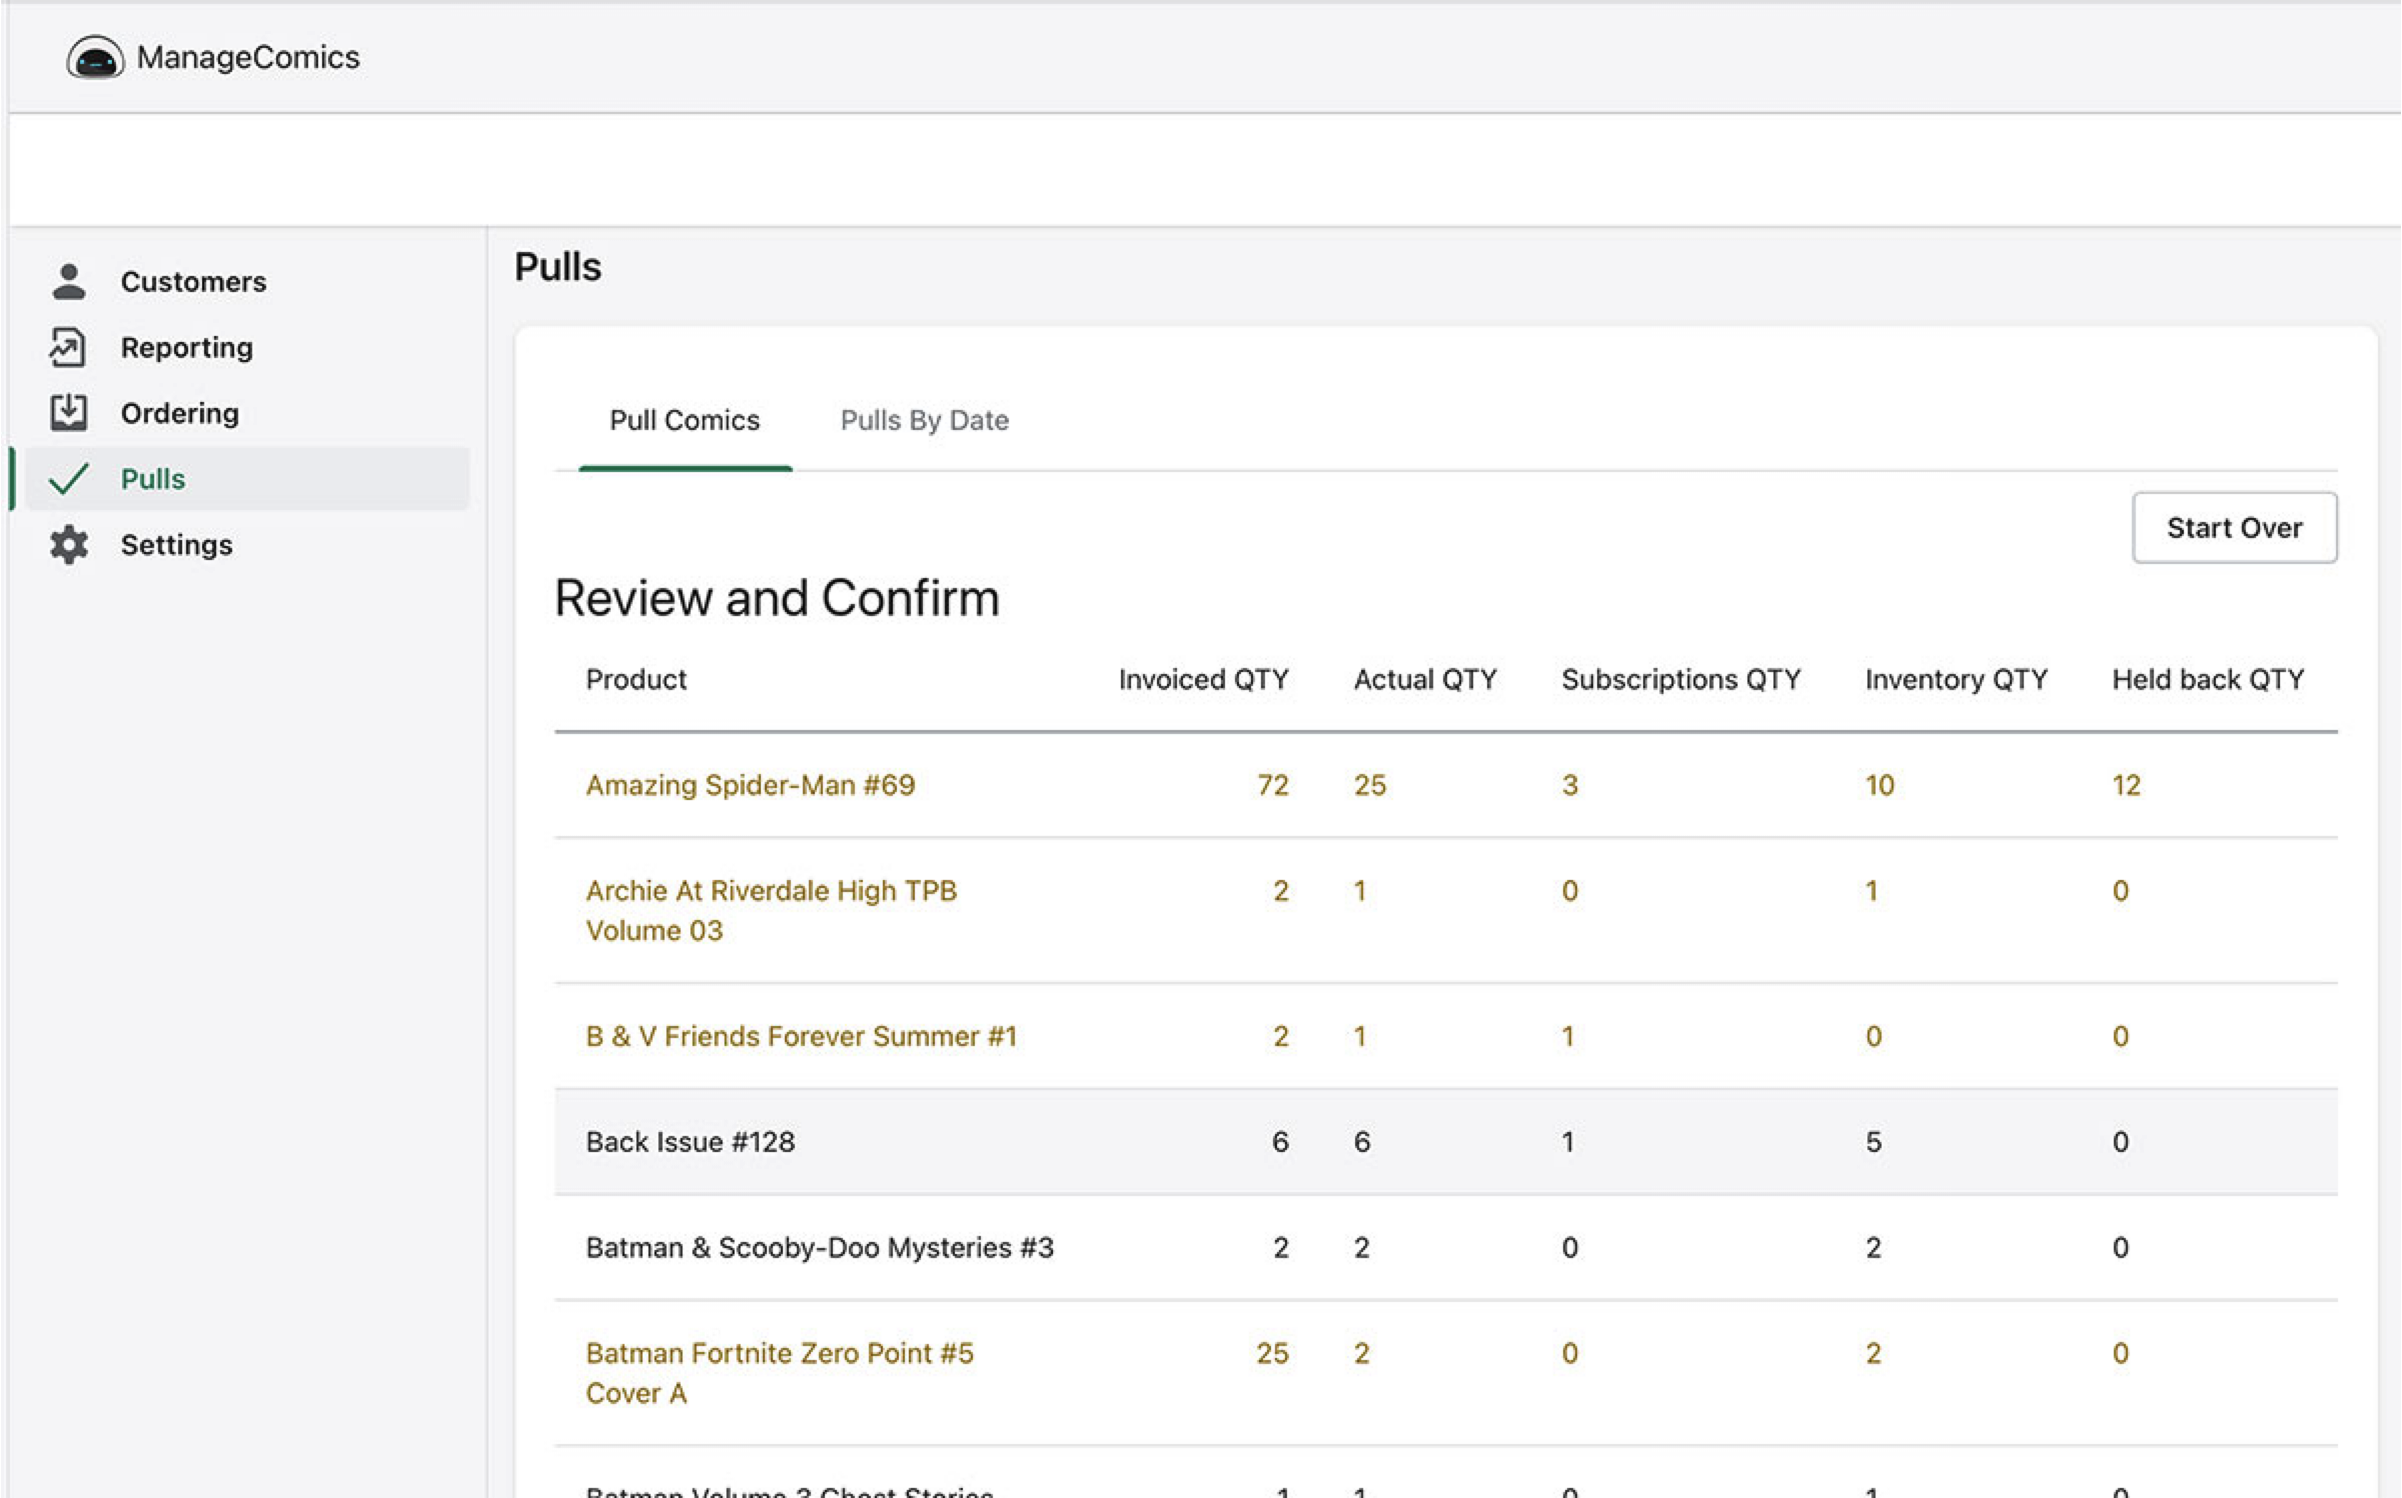
Step 5: Review and Confirm
Take a look before you commit
Review the summary and make sure everything looks good.
Step 5a: Set Date that items will appear online

Step 6: Pulls Results
Pull Your Books!
The summary will pull all of your books for your customers now, you can see this in the future by going to Pulls > Pulls by Date