One of the best ways to engage your audience is to send them an email about the cool things that are available. Manage Comics 2 Subscriptions has a built in email system that will send emails to all of your existing subscribers!
This brief video (less than 3 minutes) will walk you through the steps of creating a monthly Previews Email.
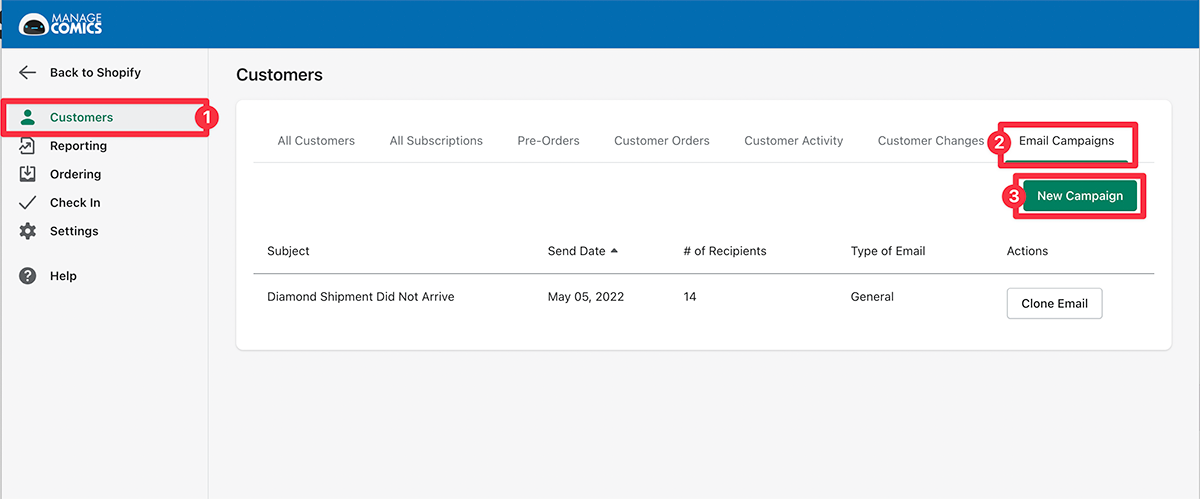
Get started by going to Customers (1) > Email Campaigns (2).
From here you can see all of your existing or previously sent campaigns, and you can create a New Campaign (3).
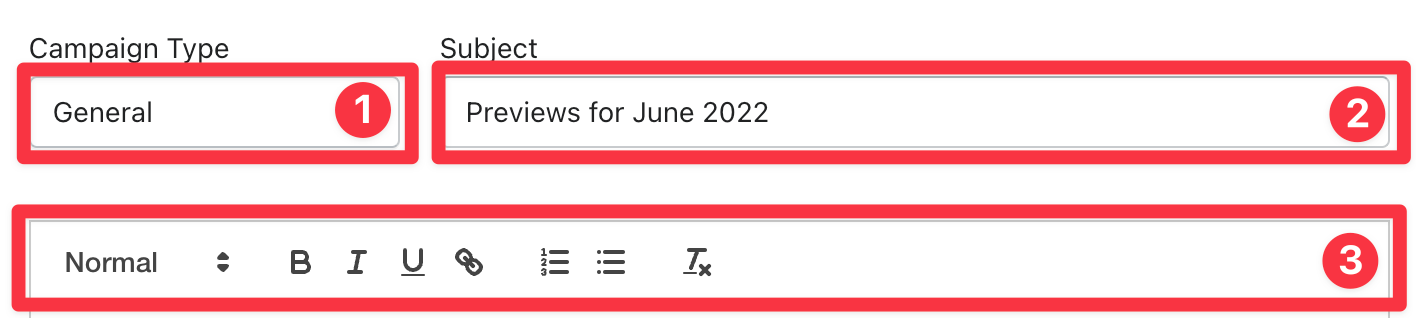
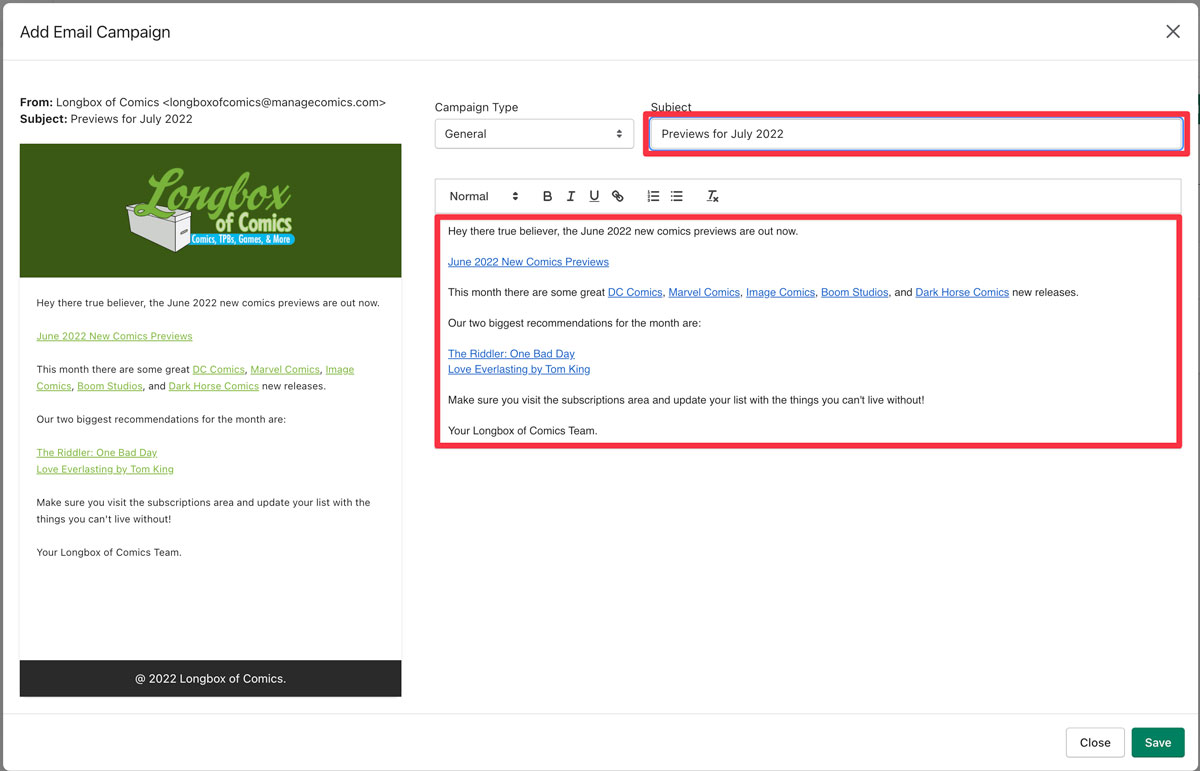
You'll choose a General (1) email, and enter a subject line (2), make it brief, pithy, and memorable.
Below the campaign type and subject line you'll find the WYSIWYG (what you see is what you get) editor. You can use this like any other email system including, text types (normal, headings etc), bold, italics, underline, links, bullets, and removing formatting.
To create a link first highlight the words you want to link (1), click on the chain icon (2), and enter the URL of the website you want to include (3).
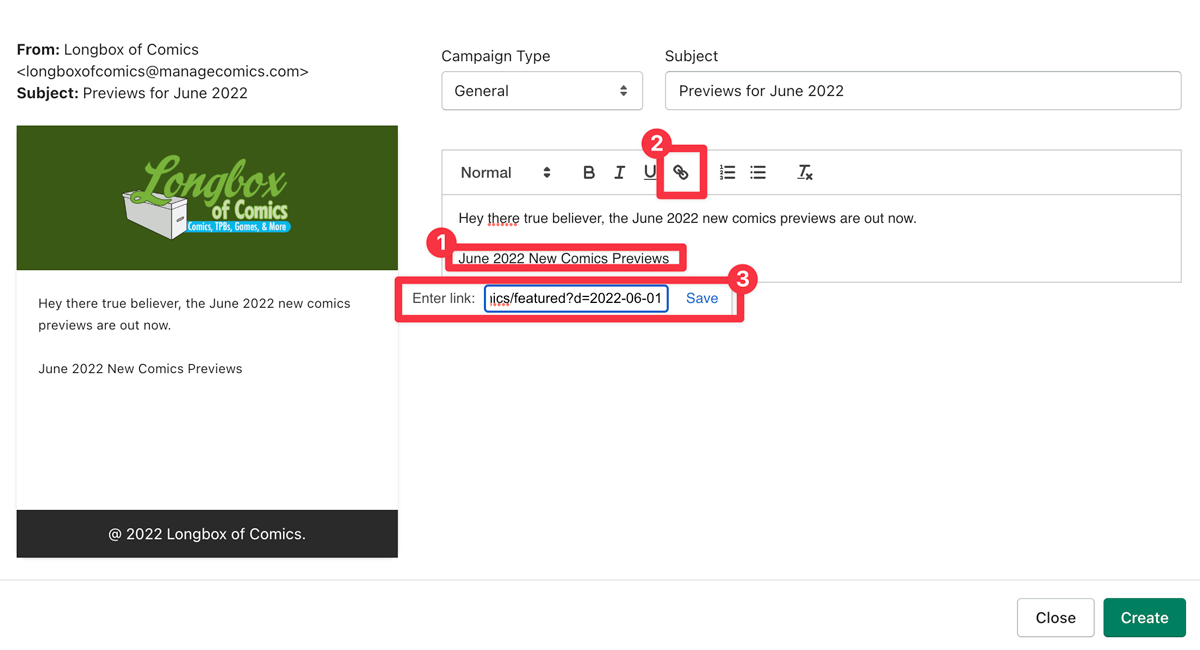
To create your email, we recommend you go to your store, click on your Manage Comics area, and link to the monthly featured image that you want to highlight, the URL will look similar to this: https://<<yoursite.com>>/pages/managecomics/featured?d=2022-06-01
Highlight a few titles you think are interesting, and link directly to those title URLs (go to your site, click on the item you want to feature, and copy the URL for your email link).
You'll see a preview of what you are writing (1) in the side panel (2) with an approximation of what it will look like in browsers.
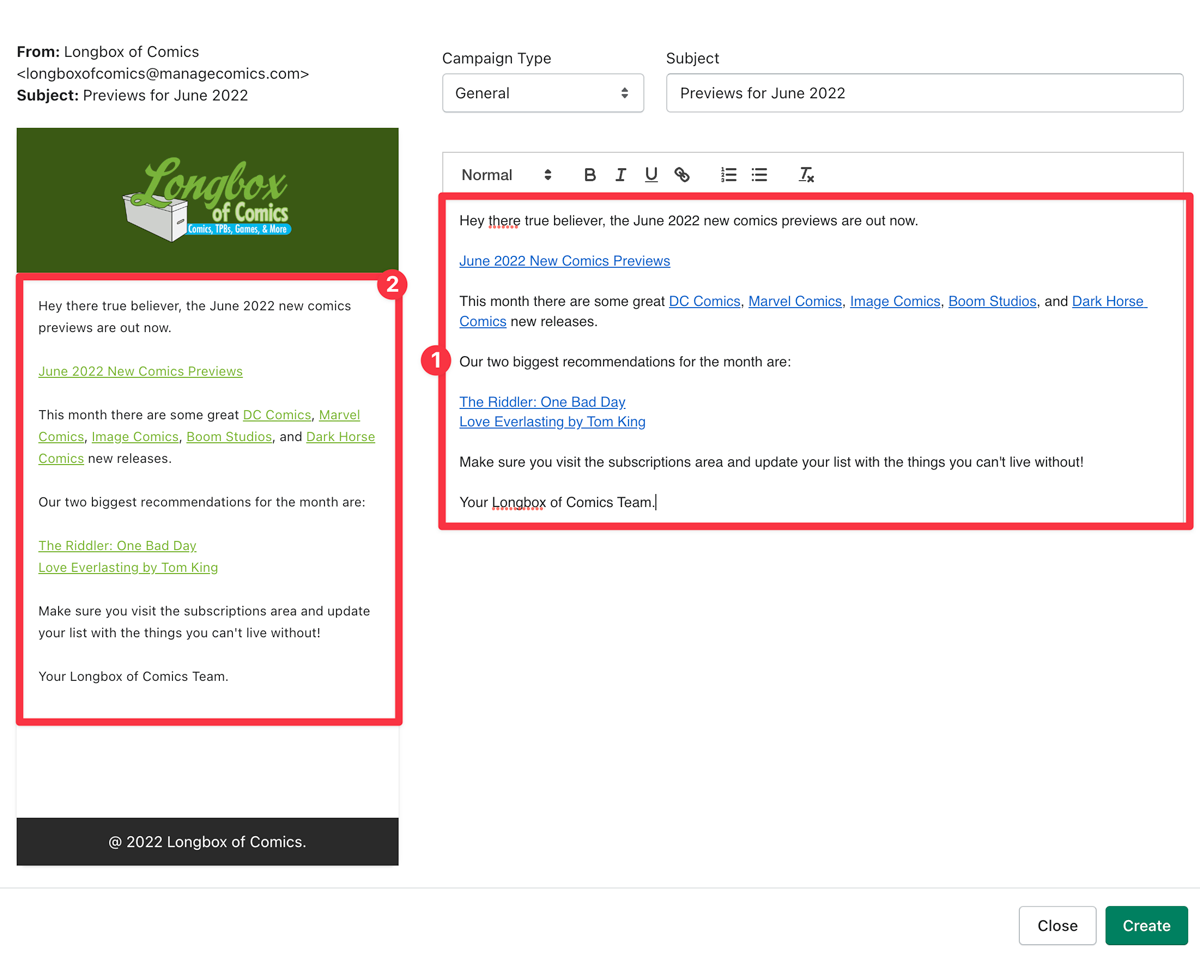
After clicking "Create" (in the bottom right hand corner), you'll be taken back to the Email Campaigns screen, where you can send the campaign, continue editing it, or delete the campaign.

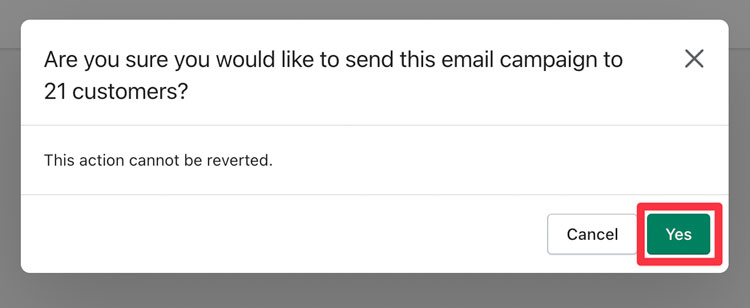
Clicking send will pop up a box confirming you want to send it to the # of people who are currently active subscribers in your database.
Once your email has been successfully sent, you will see the # of recipients it was sent to, the type of email it was, and you now have the ability to clone that email (recreating everything that was in the original email).

Cloning the email will give you an exact replica of the previous email which you can now edit the subject and body of.
Once you're done here, you can save the email, and send it the same way we sent the last email.
Don't forget to take a look at our other workflows!