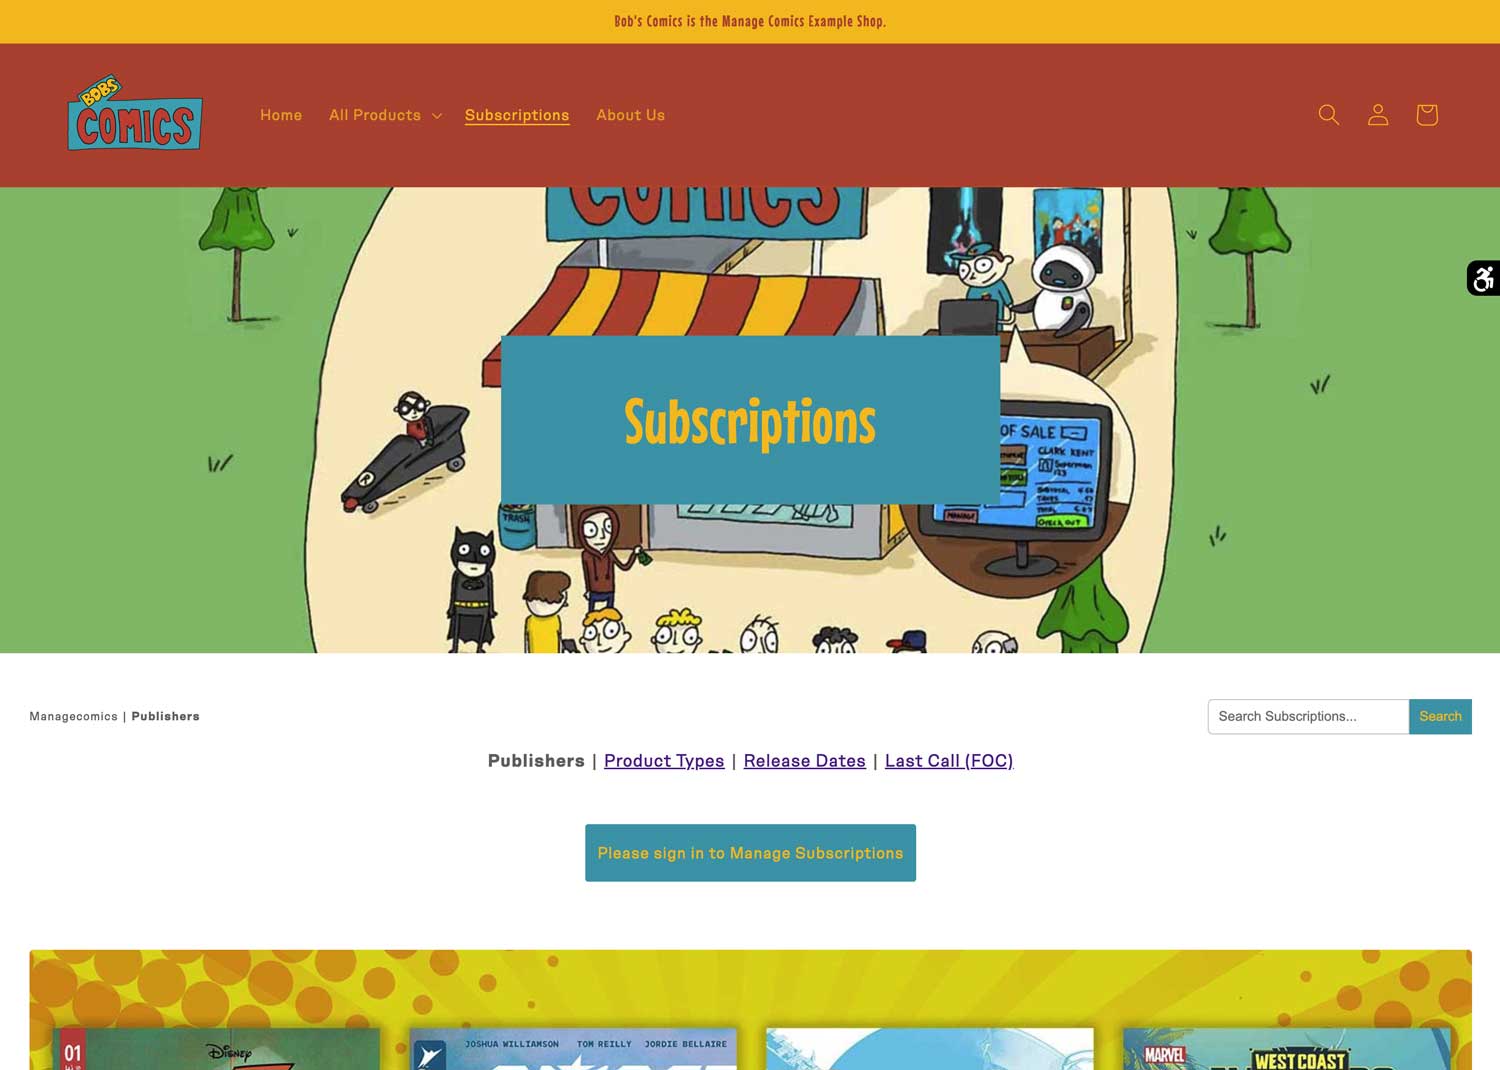
By default, Manage Comics pages will appear on your site, but you may want to fine-tune their appearance. While we've attempted to make Manage Comics work for every site, sometimes you'll need to make changes to make it work better with your site.
How to create a custom template for your subscription pages
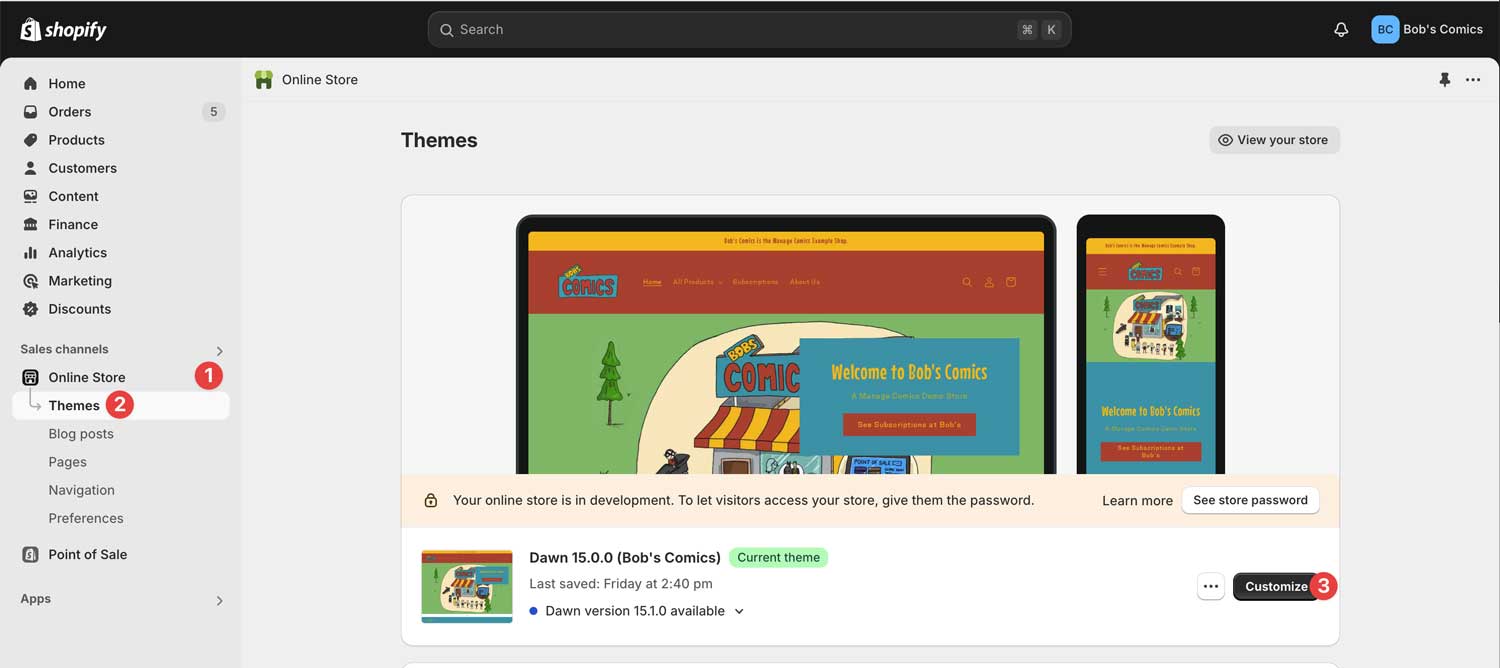
To get started, navigate to Sales Channels > Online Store (1) > Themes (2) in your Shopify navigation.
On your active theme, click Customize (3)
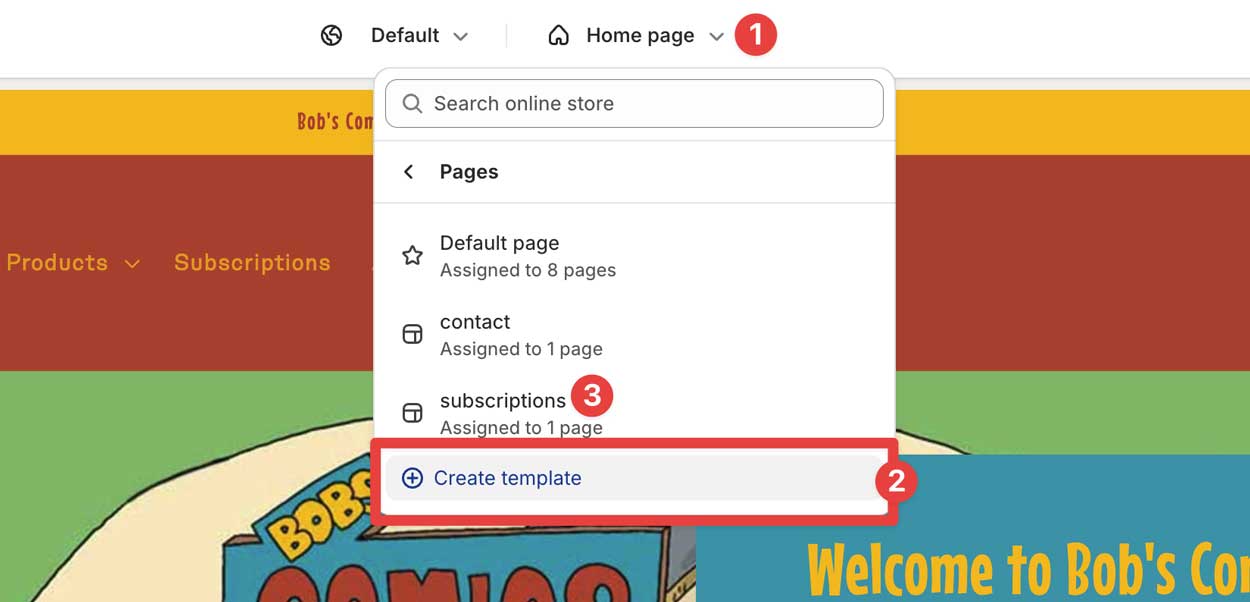
In the top of the theme customizer, click on Home Page (1) > Create Template (2), and name the new template Subscriptions (3) (based off default)
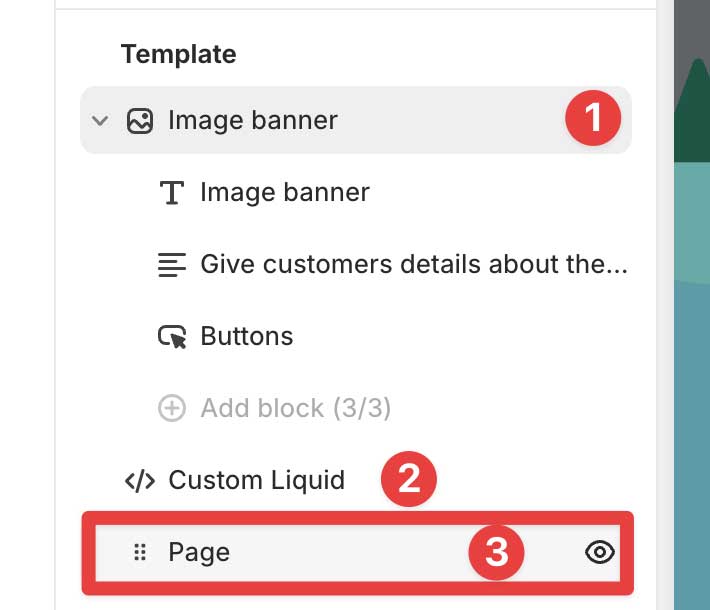
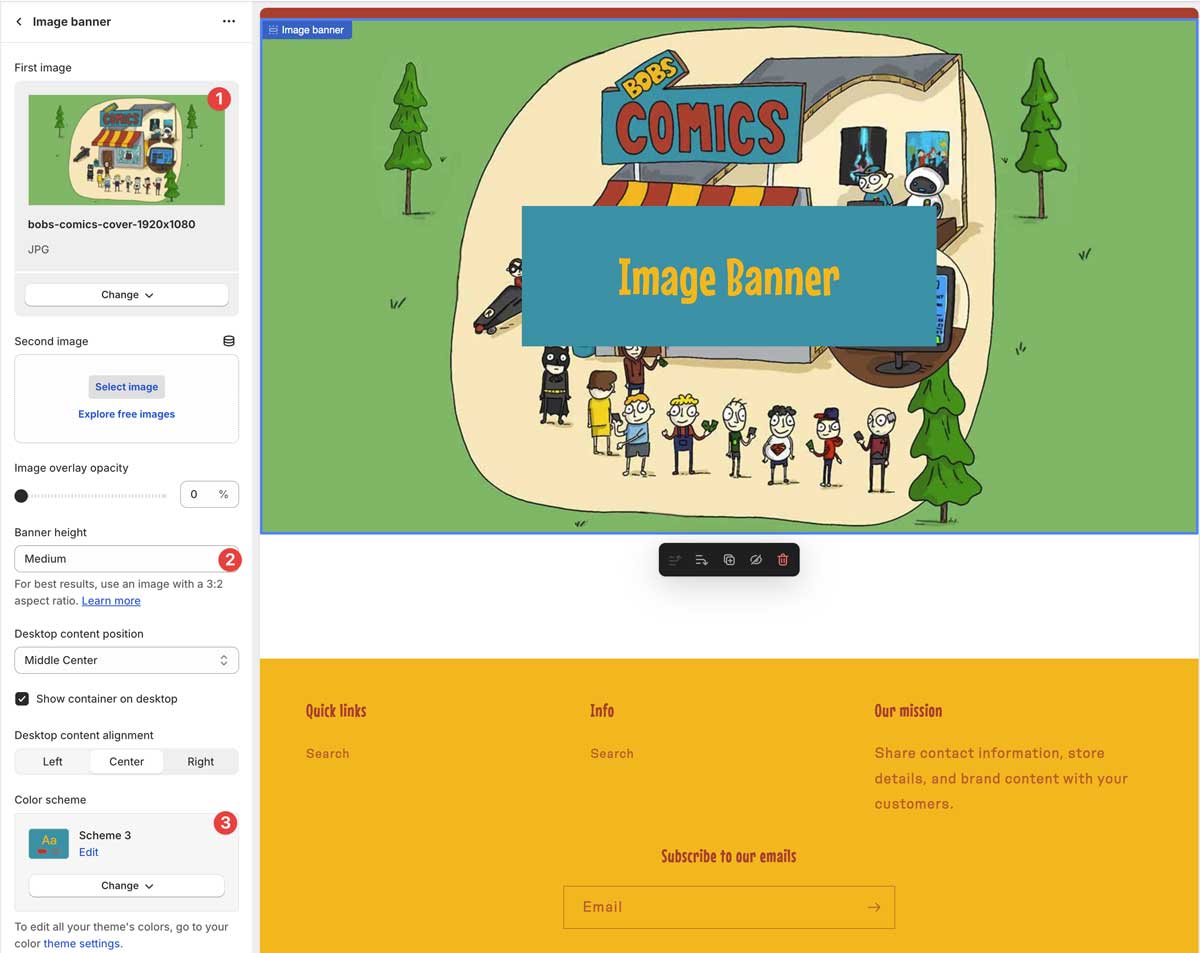
In this new template we're going to add an Image Banner (1), Custom Liquid (2), and make sure the Page has the eyeball not crossed (3), make sure they are in this order (this is important later).
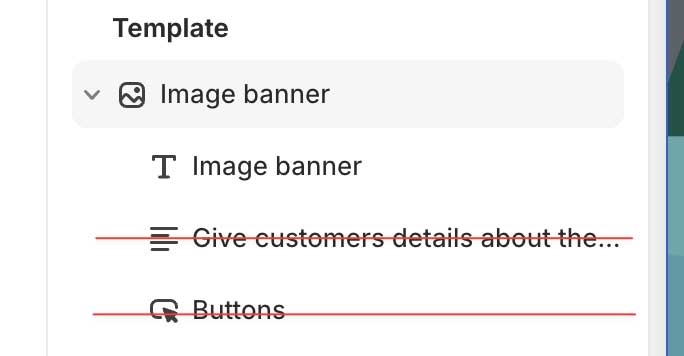
In the Image Banner, we're going to delete the Text line and the Buttons (use the trash icon next to these).
In the Image Banner, we'll choose an image (1), adjust the banner height (2) - I chose small, and change our color scheme (3), you will see these changes happen in real time on the right.
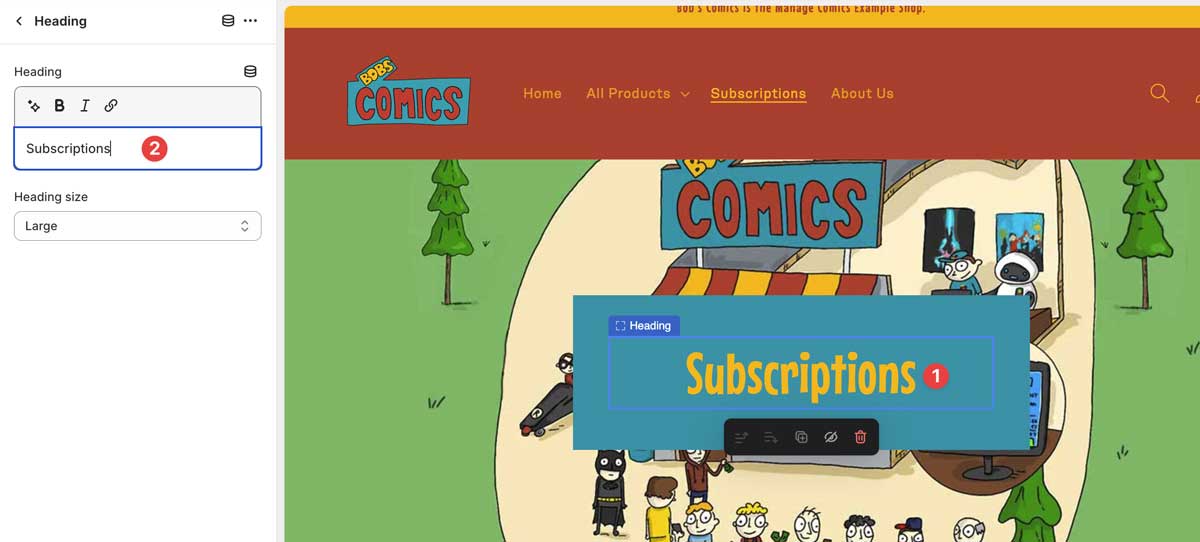
Now click on the word Image Banner (1), and type in "Subscriptions" (2) or "Pull box", or "Hold System", or "Saver Club", or whatever you want to call this page!
Next click on Custom Liquid, and enter the following code:
<div id="managecomics"></div>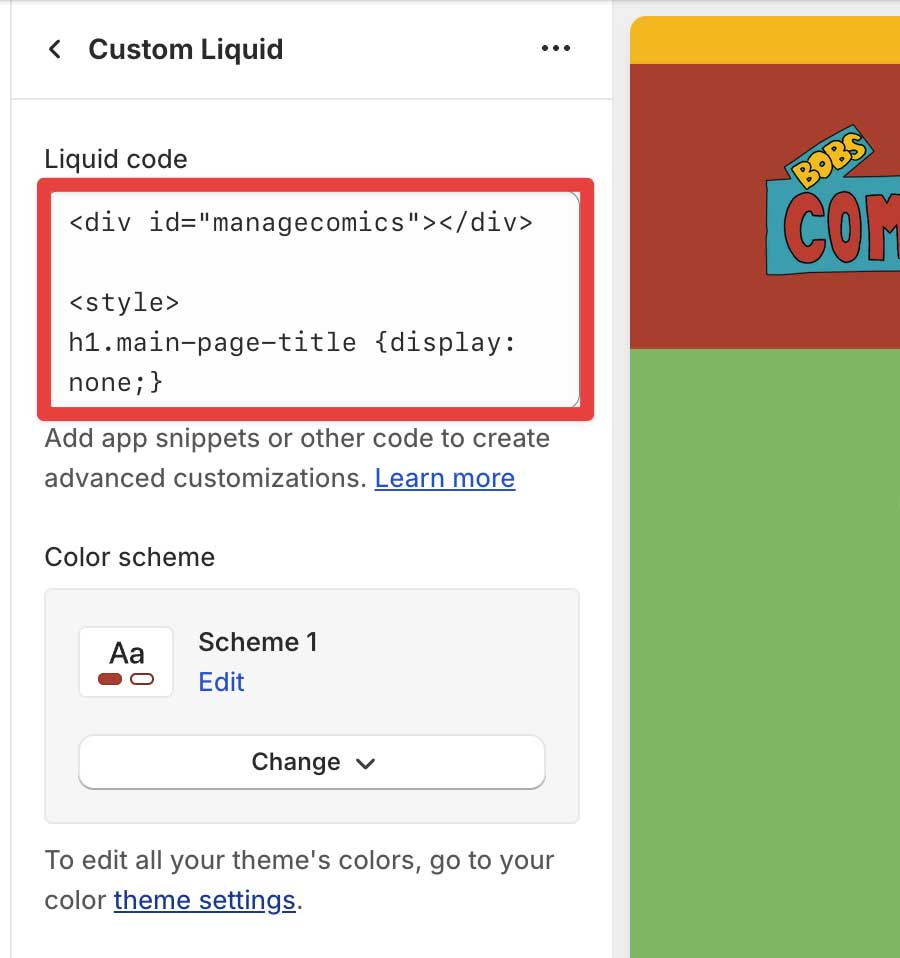
Click "Save" in your theme!
Apply your subscription template to your subscription pages
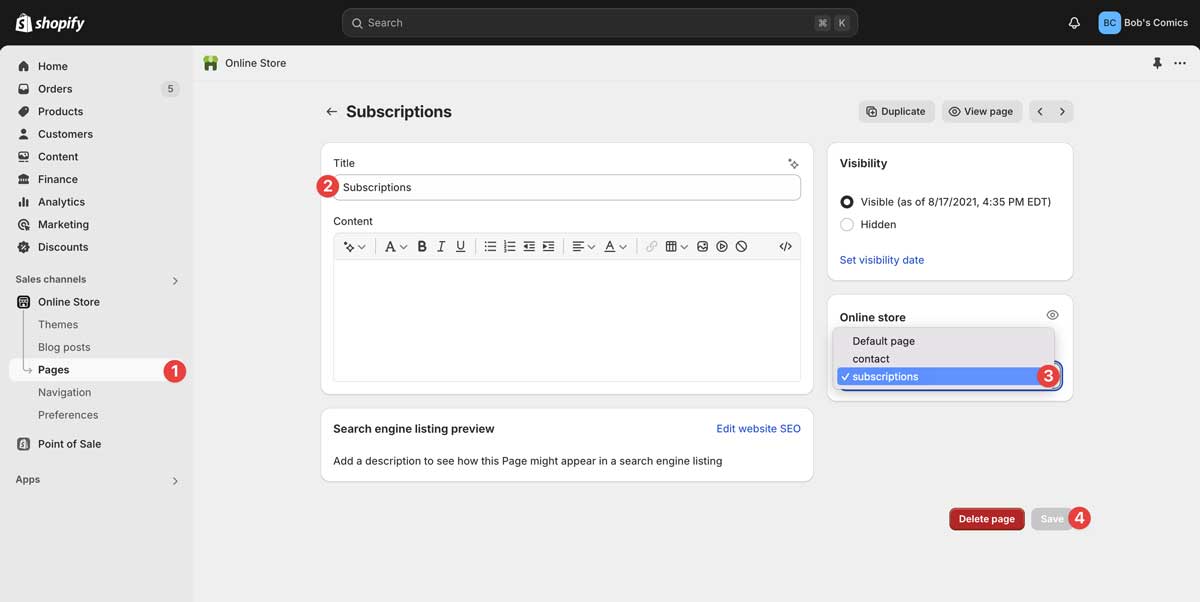
Next we'll navigate to Sales Channels > Online Store > Pages (1), and the Subscriptions page (2) - IMPORTANT - do not edit the "content" are of this page as it will break a world of things.
Change the template to "subscriptions" (3), and click save (4).
Congratulations! You now have an awesome subscriptions area of your website that is customized to you!